
Smoked
Dinosaur Bones 2

You want to ask your butcher for a 3 or 4 rack of beef plate ribs. These are the ribs the Texans call Dinosaur Bones. There are several different types of beef ribs. Back ribs, chuck ribs, short ribs & plate ribs. Plate ribs are located down near the stomach and are practically straight with very little curve to the bones.

There will be some fat on the top of the ribs along with a layer of silver skin.


Remove the thin layer of silver skin from the top of the ribs. Whatever fat remains will render during smoking. Leave the membrane on the bottom of the rack covering the bones. This will hold the meat on the bone. If it is removed, the meat during the smoking process, will shrink on the bone and fall off.

This is what your trimmed ribs should look like.


A couple of hours before smoking the ribs, I like to let them come to room temp. I add a simple rub consisting of equal parts kosher salt, coarse black pepper & granulated garlic.

Place ribs in a smoker set to 225 degrees for two hours. Then spritz with your favorite baste. I use beef broth and apple juice. Raise smoker temp to 325 degrees and continue spritzing every hour until the internal temp of the ribs reach 203 degrees.

2 hours in @ 225 degrees 
Another 2 hours in @ 325 degrees
Once the ribs reach 203 degrees, it’s time to take them out of the smoker and let them rest 15 minutes. Don’t wrap them as this will soften the bark that you worked so hard to acheive.


This is what 8 hours in the smoker looks like. Melts in your mouth!
Dinosaur Bones

My wife and I winter in a little fishing village in Southwest Texas. For the last three years we’ve been going to as many of the Texas Monthly Top 50 BBQ joints that we can with our ultimate goal to visit each one. One of our favorite dishes is the Dinosaur bones. Big beefy plate ribs cooked to where they literally are clinging to the bone by just the membrane left on the underside of the rib. Our favorite haunts for these heart stopping ribs are Blacks in Lockhart, Smoliks in Mathis, and Smoking Oak in Mercedes. They’re not cheap ($30 1 1/2 lb average per bone) but so worth it. They are better than brisket and take half the time to prepare. Once you try this recipe you will make them a regular on your bbq rotation.

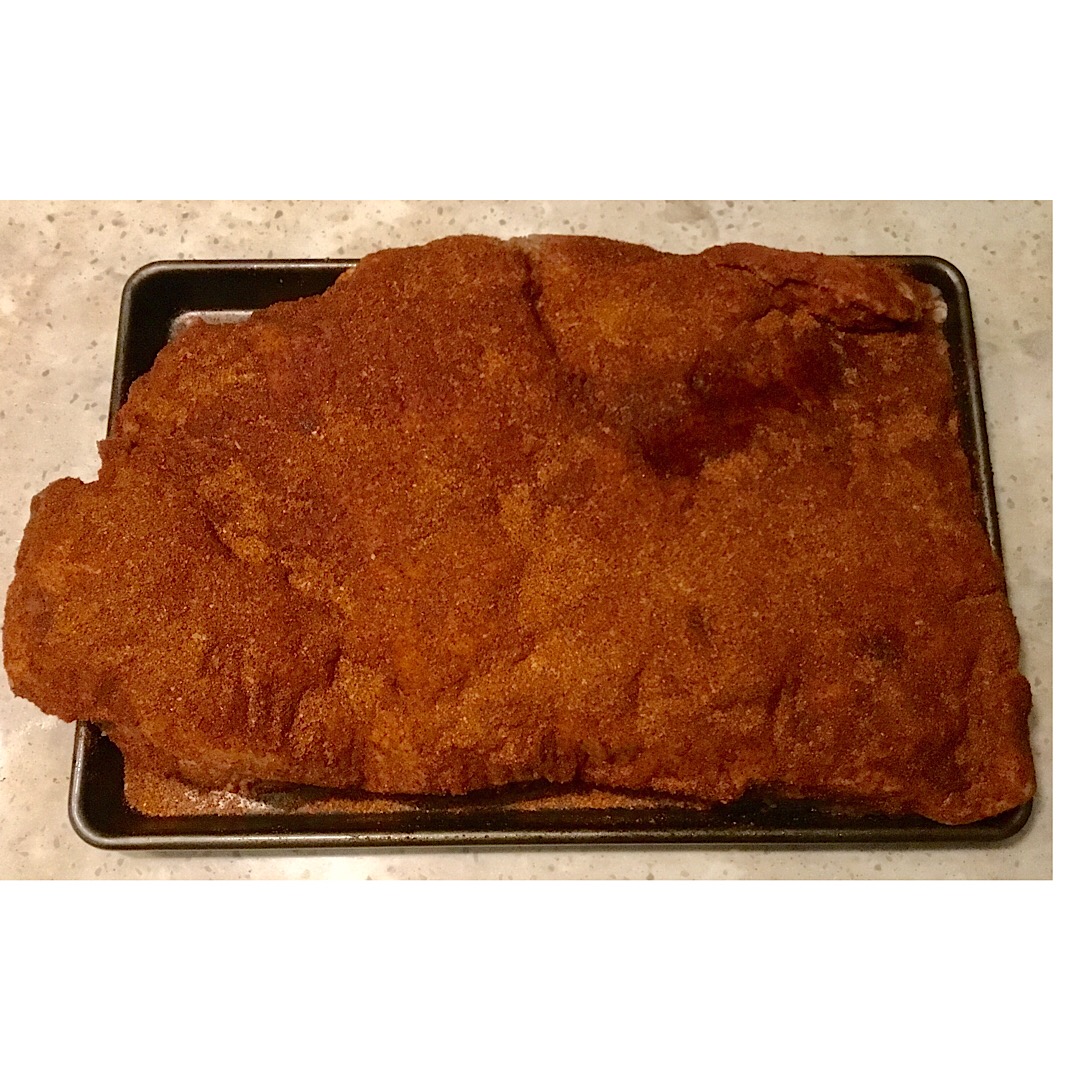
Start with fresh meaty plate beef ribs either in a three rib rack or separated like the ribs above. These two ribs weighed a combined 4 pounds.

Season on all sides with your favorite beef rub. I use a rub with kosher salt, coarse black pepper, garlic granules, onion granules & Tony Cacheres.

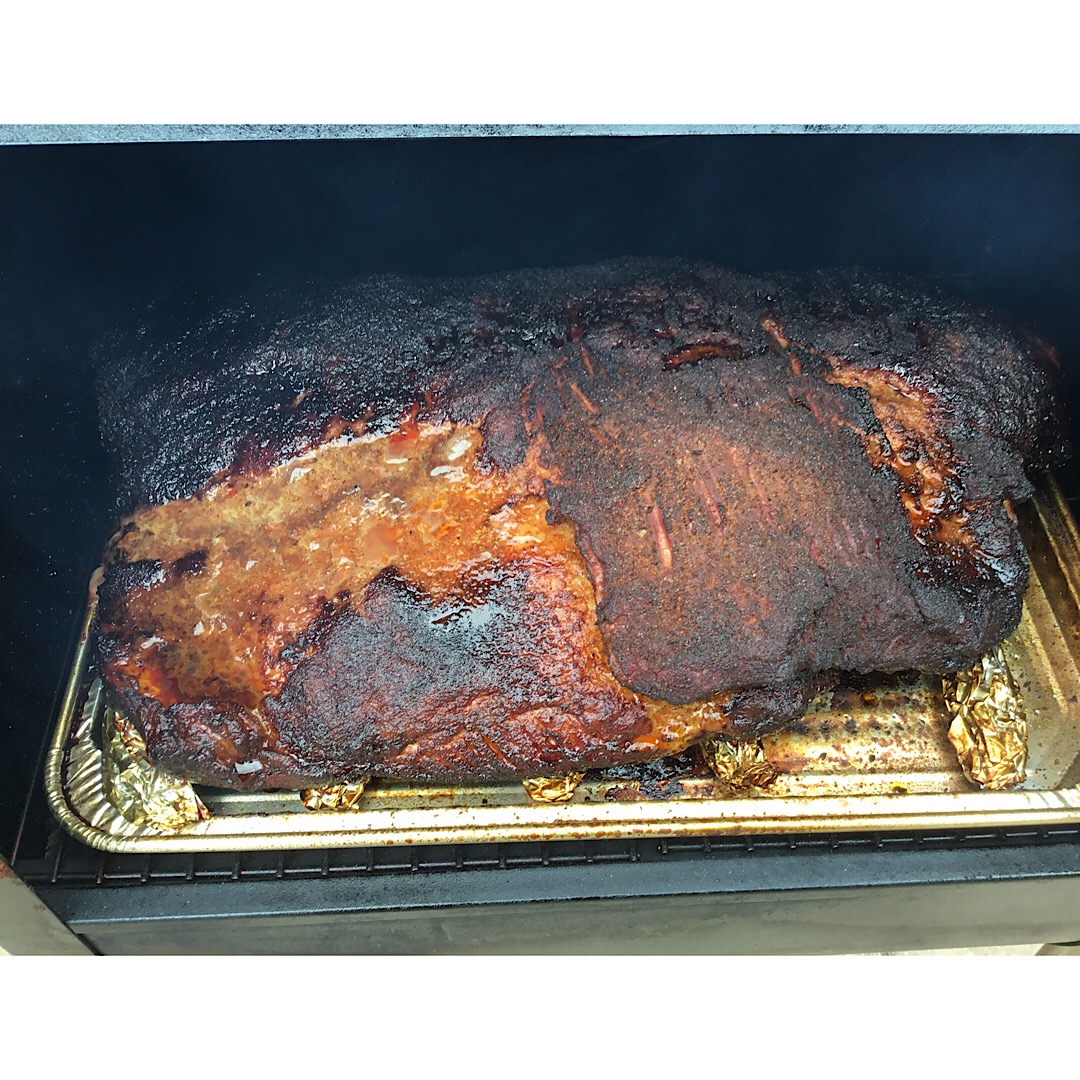
Put ribs in a smoker preheated to 225 degrees.

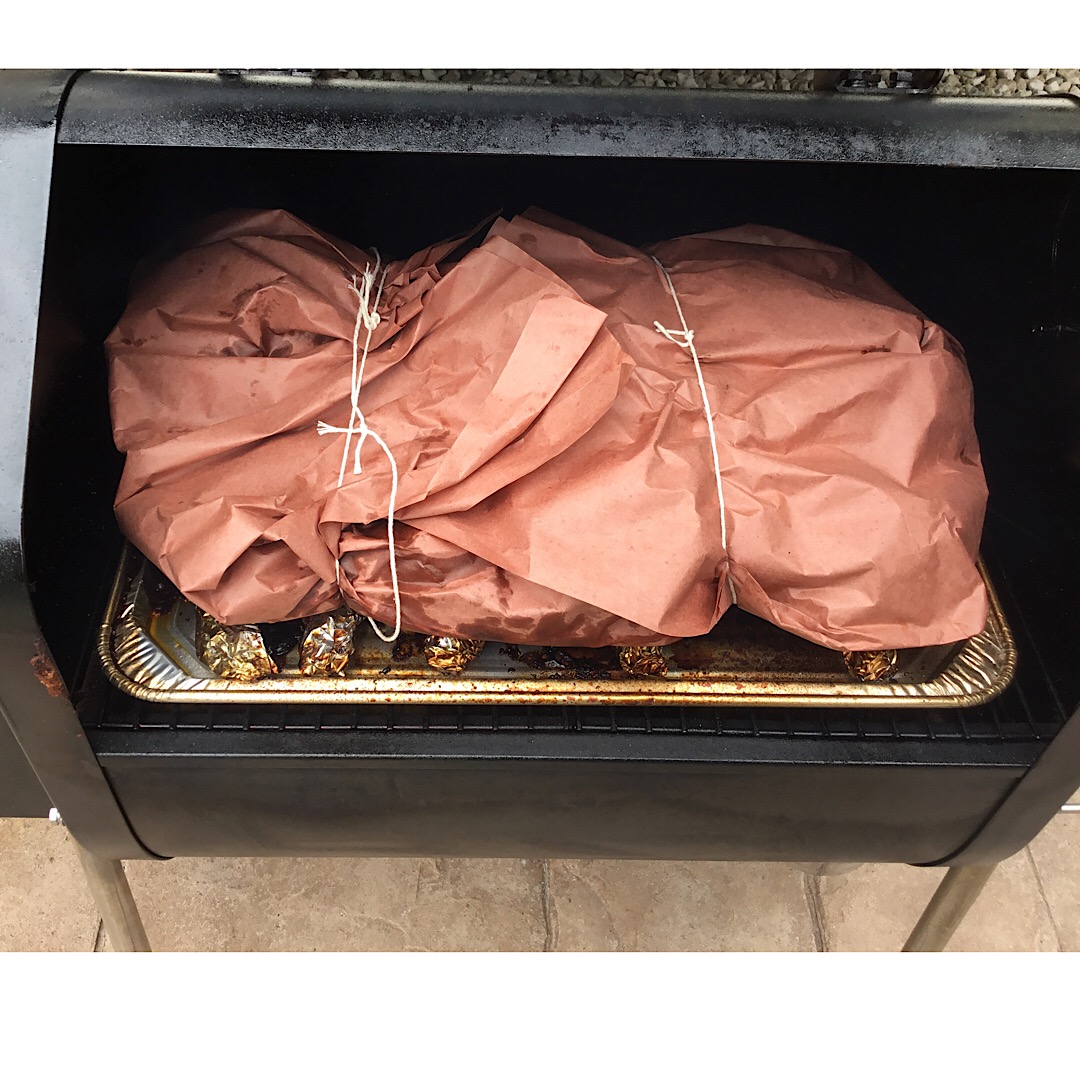
After 3 hours they should look like this. Double wrap ribs in pink butcher paper.

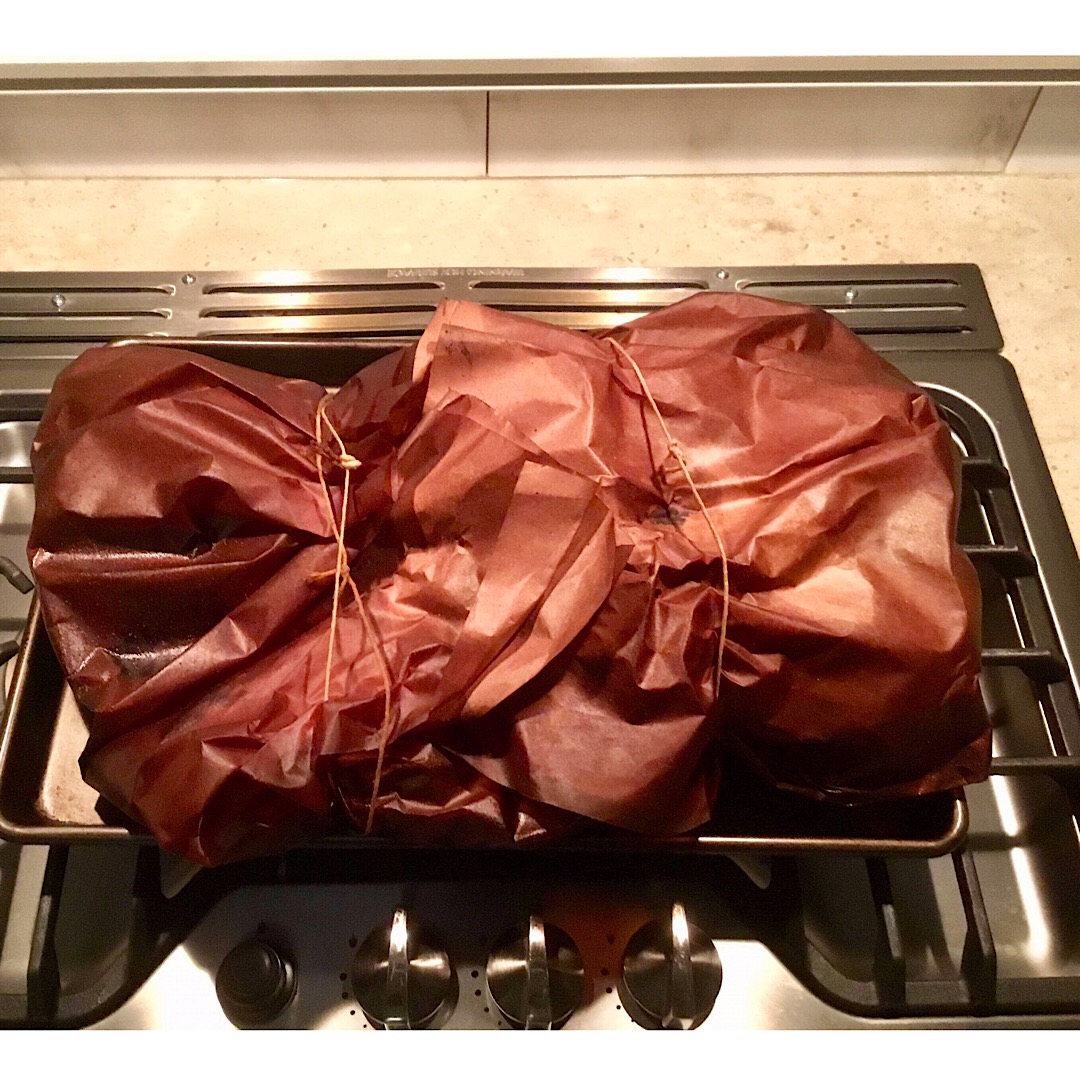
Place back in the smoker for 2 hours. Then remove and place wrapped ribs in a cooler for 1 hour.

When you’re ready they’ll look like this!
Full Packer Texas Smoked Brisket
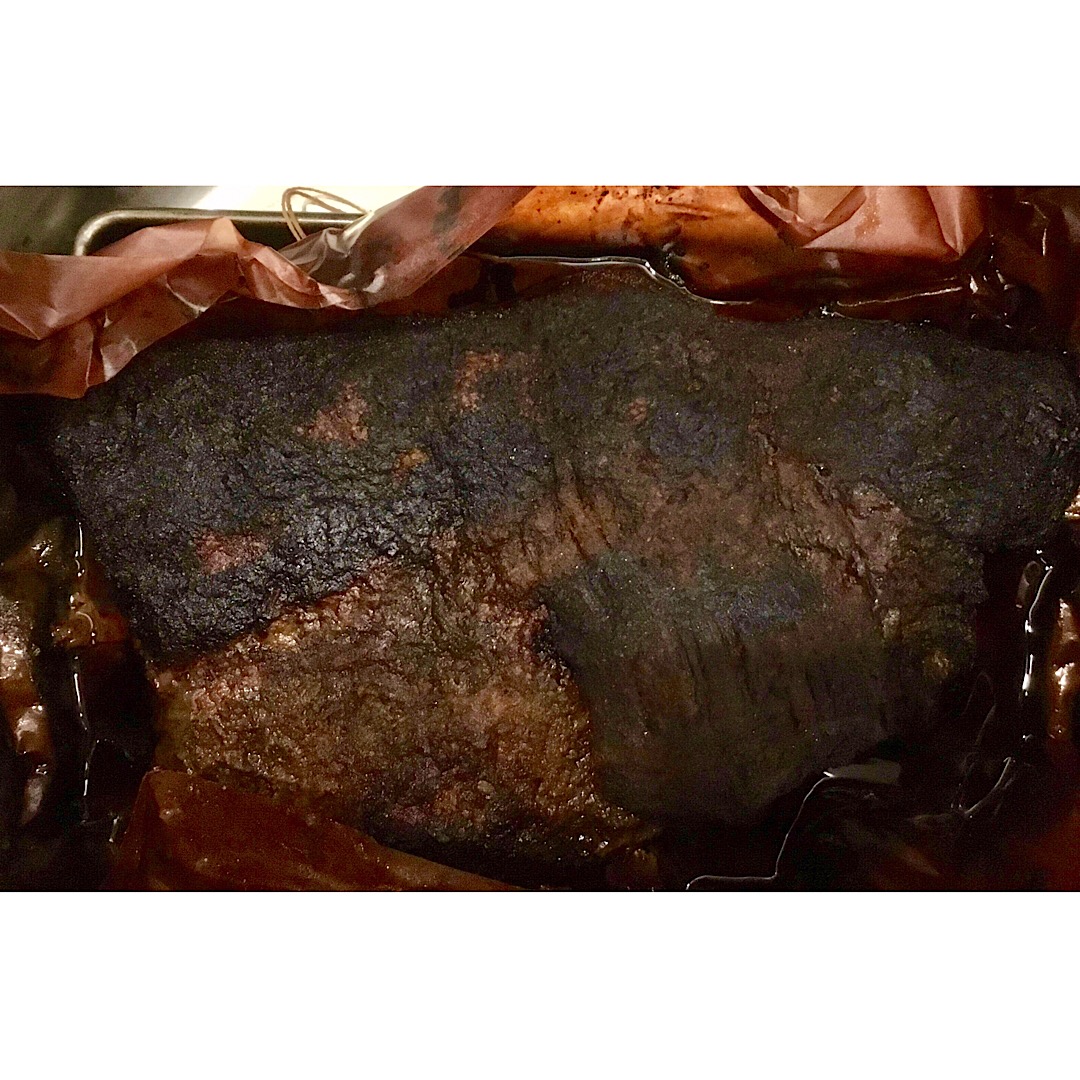
I’ve been smoking brisket Texas style for over 35 years. I have a Texas pit that I can smoke 200 lbs of meat at one time. It is made from 3/8” cold rolled steel for heat control and has an offset firebox. It produces the best brisket I’ve ever eaten and I’ve eaten at most of the top 50 bbq joints listed in Texas Monthly. It’s not that I’m such a great pitmaster, it’s using quality meat (I use Prime brisket), constant heat (225 degrees), simple injection, and a quality rub. Smoke for 6 hours, wrap in pink butcher paper and continue smoking until the internal temp reaches 203 degrees. However, you can make an excellent brisket in a small pellet smoker. I do it all winter on the Texas gulf coast. You won’t get as much of a smoke ring since pellets don’t produce much nitric oxide gas which when it reaches the myoglobin turns red. The flavor and tenderness will still be there.
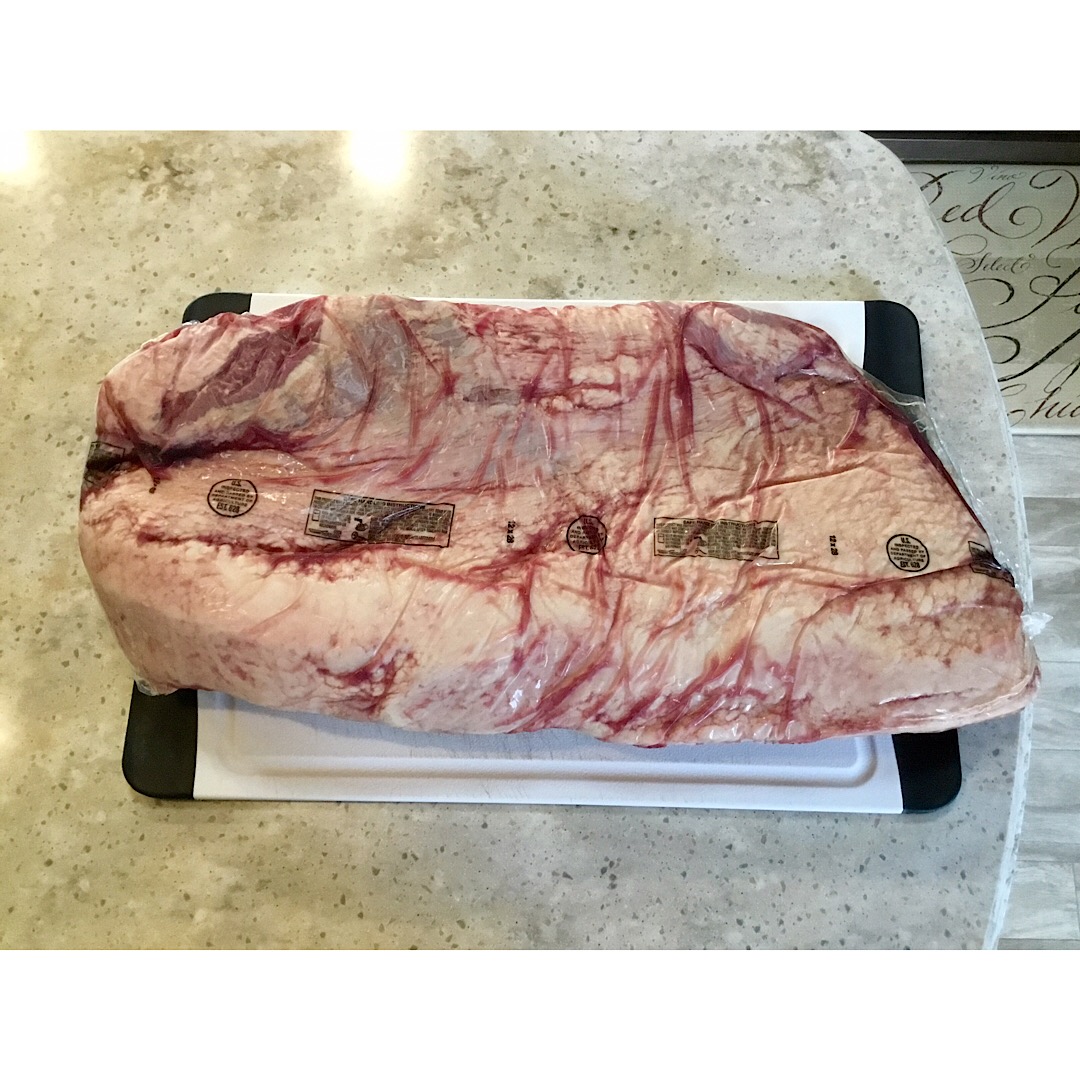
Start with a quality 14-16 lb full packer brisket
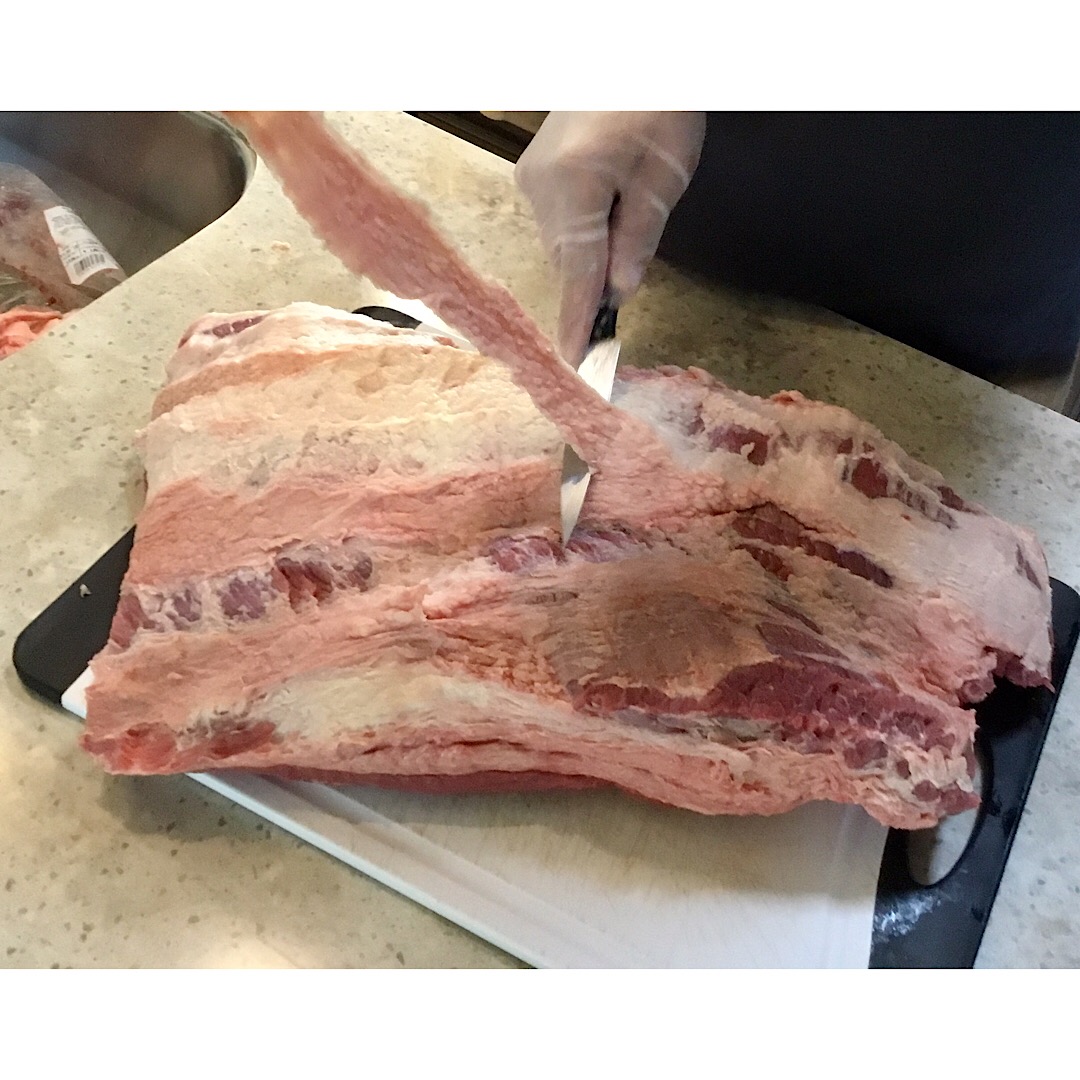

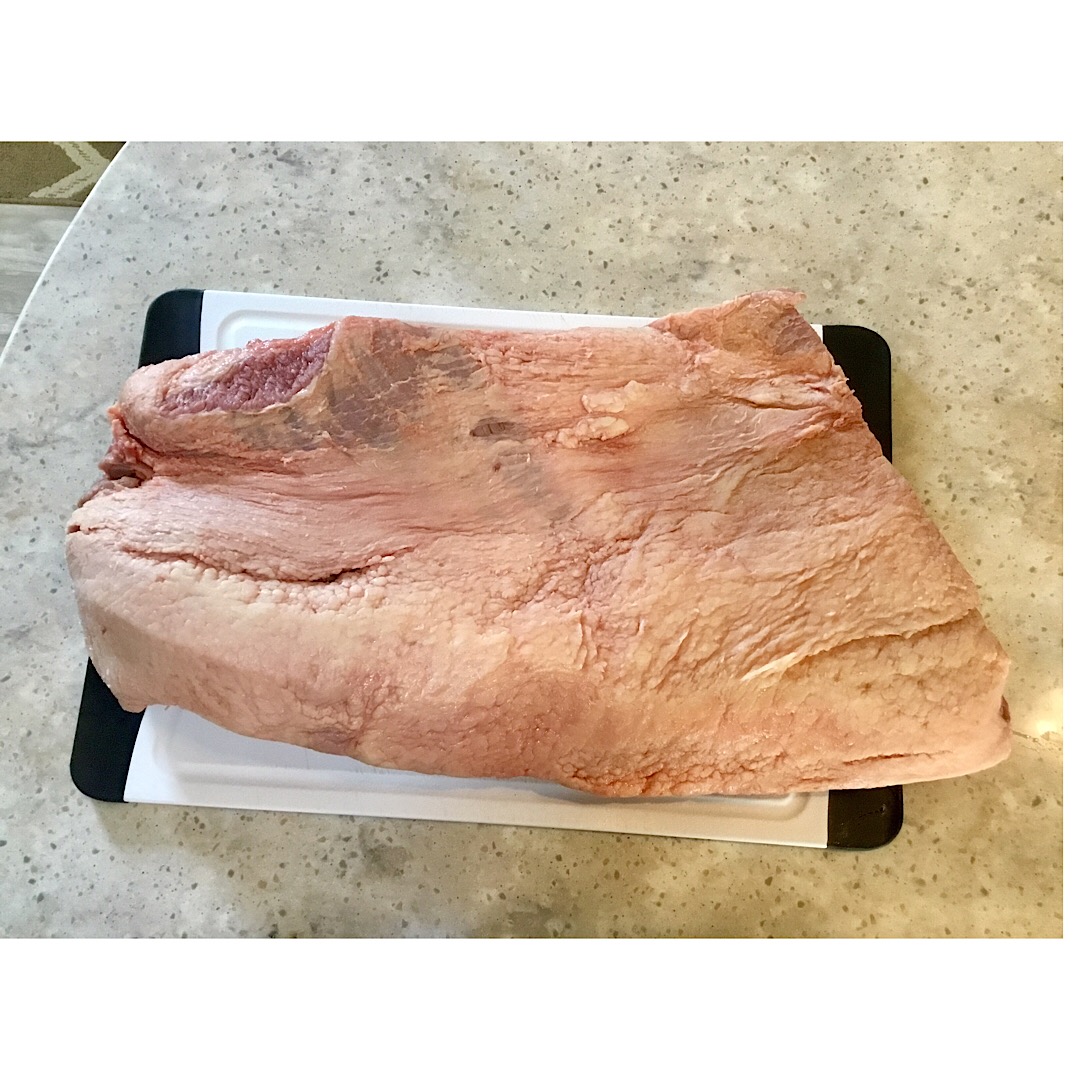
Trim fat cap to 1/4 inch & trim all the deckle fat between the point & flat
Inject with your favorite brine and let sit overnight and then coat with your choice of rub.
Smoke @ 225 degrees for 6 hours.
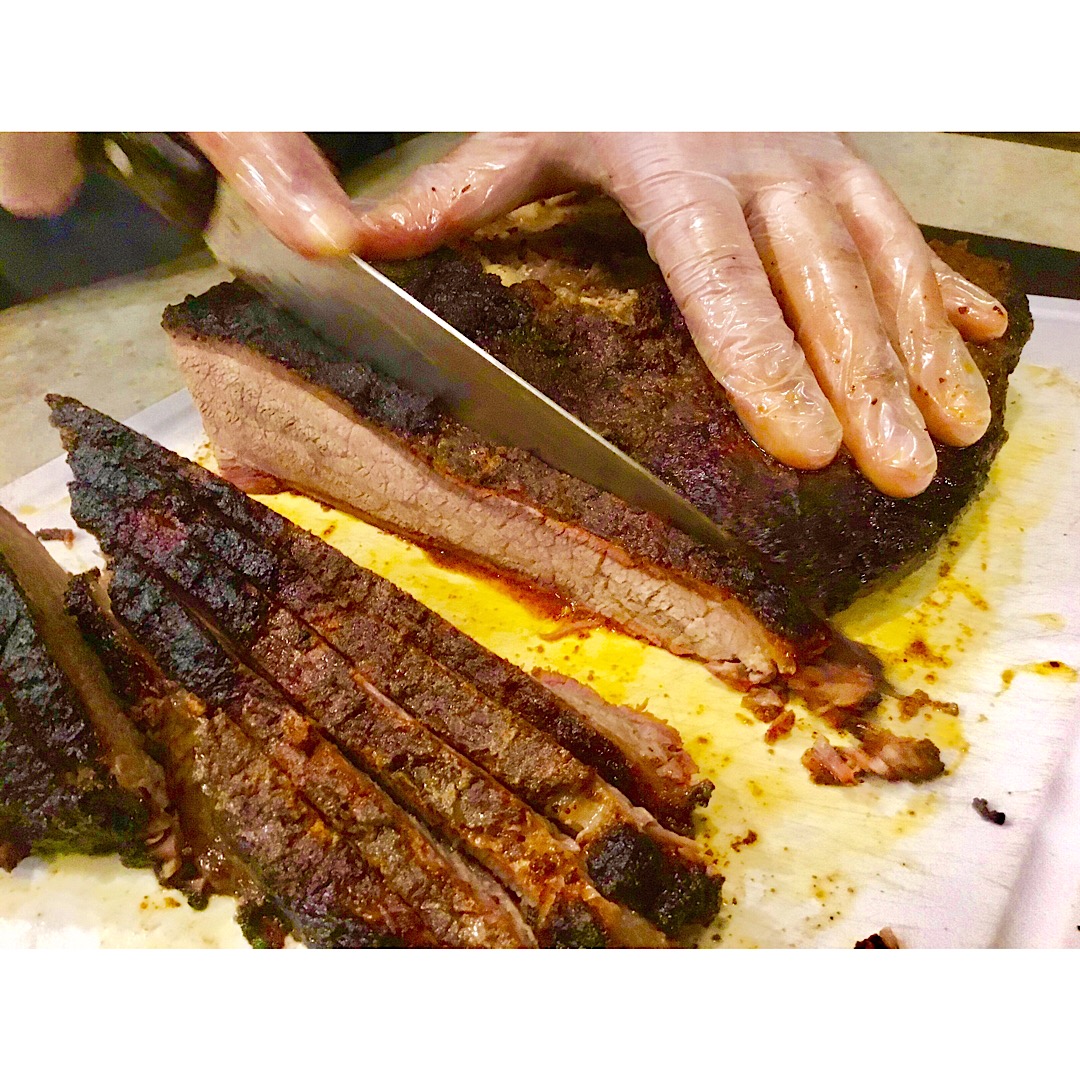
Wrap in pink butcher paper and continue to smoke until internal temp reaches 203. Take out of smoker and place it in a cooler still in pink paper insulated with newspaper. Let rest 2 hours and up to 4. Slice across the grain.
Tomahawk Ribeye Reverse Seared Steak
 Tomahawk ribeyes are a big deal in Texas. We spend 5 months during the winter sport fishing the Gulf of Mexico for Red & Black Drum, Speckled Trout & Red Snapper. Since seafood is a staple in our diet, it’s nice to splurge on a huge hunk of beef from time to time. These babies have a 2 1/2 to 3 lb hunk of Ribeye on the end of a 12 to 14 inch rib bone. The cost is around $17 a pound for prime & $13 for choice. HEB supermarket usually has a sale on choice tomahawks over the winter for $7 a pound and that’s when we pick up our year supply.
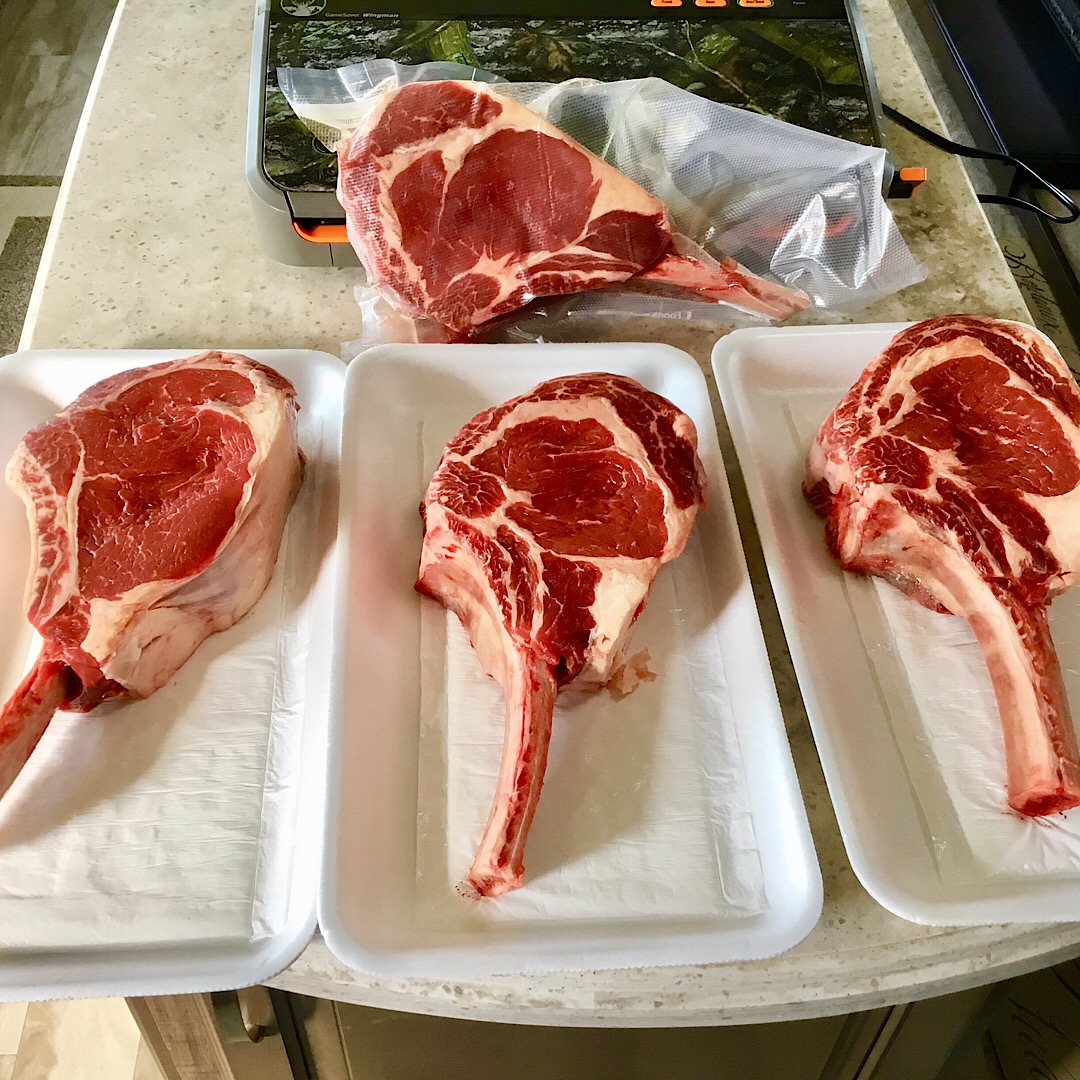
These are choice tomahawks
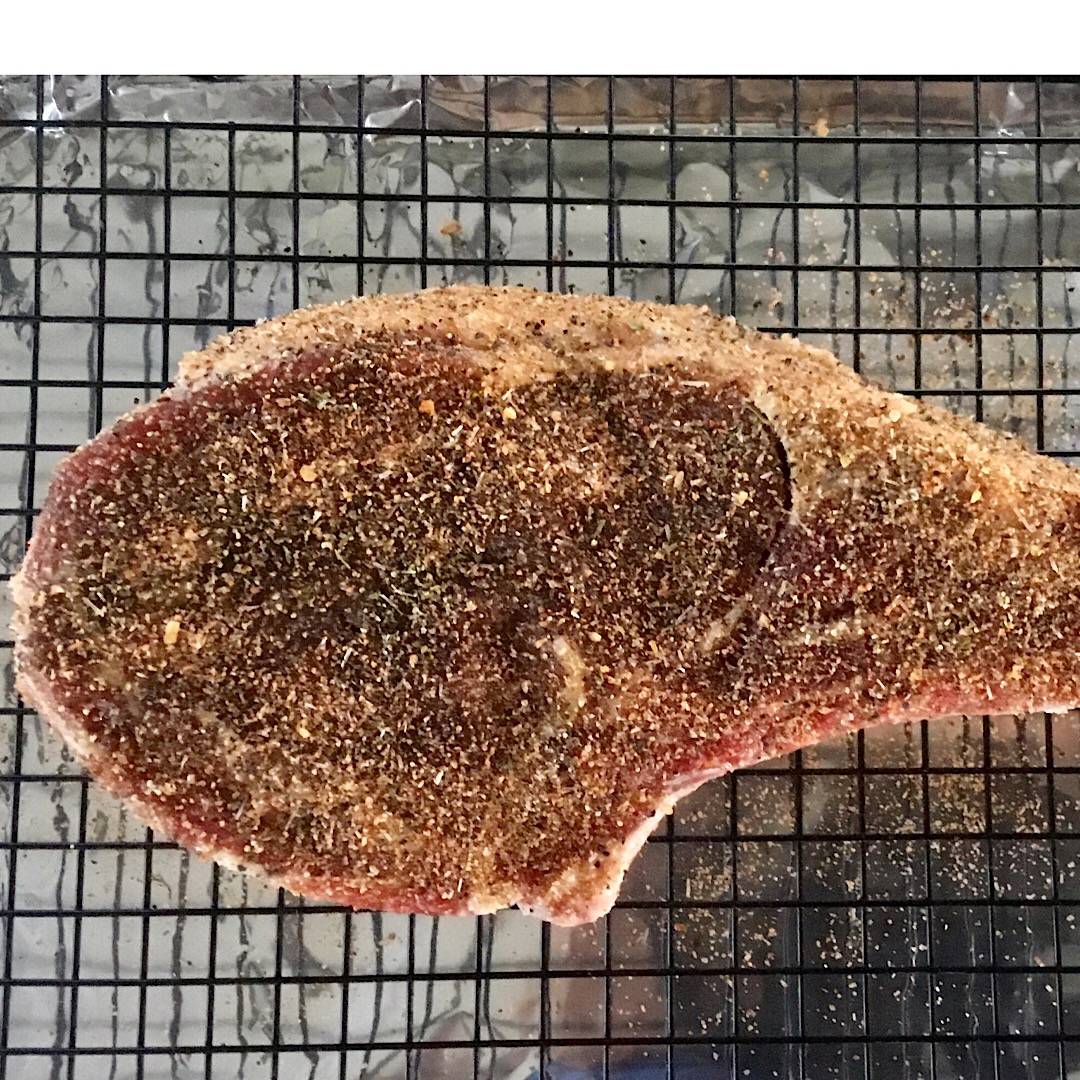
Season with salt & fresh cracked pepper
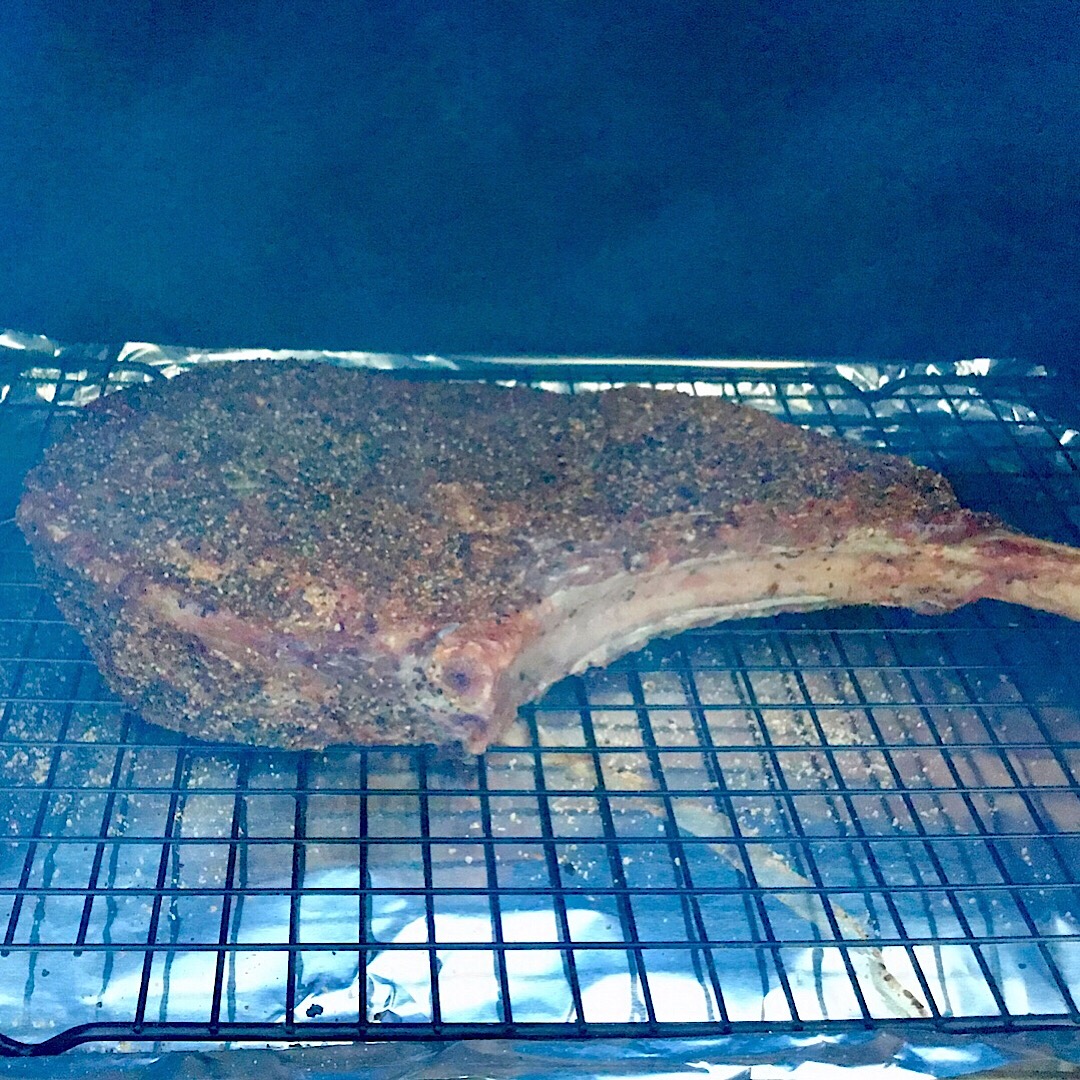
Put a temperature probe in the center & place in a 200 degree smoker.
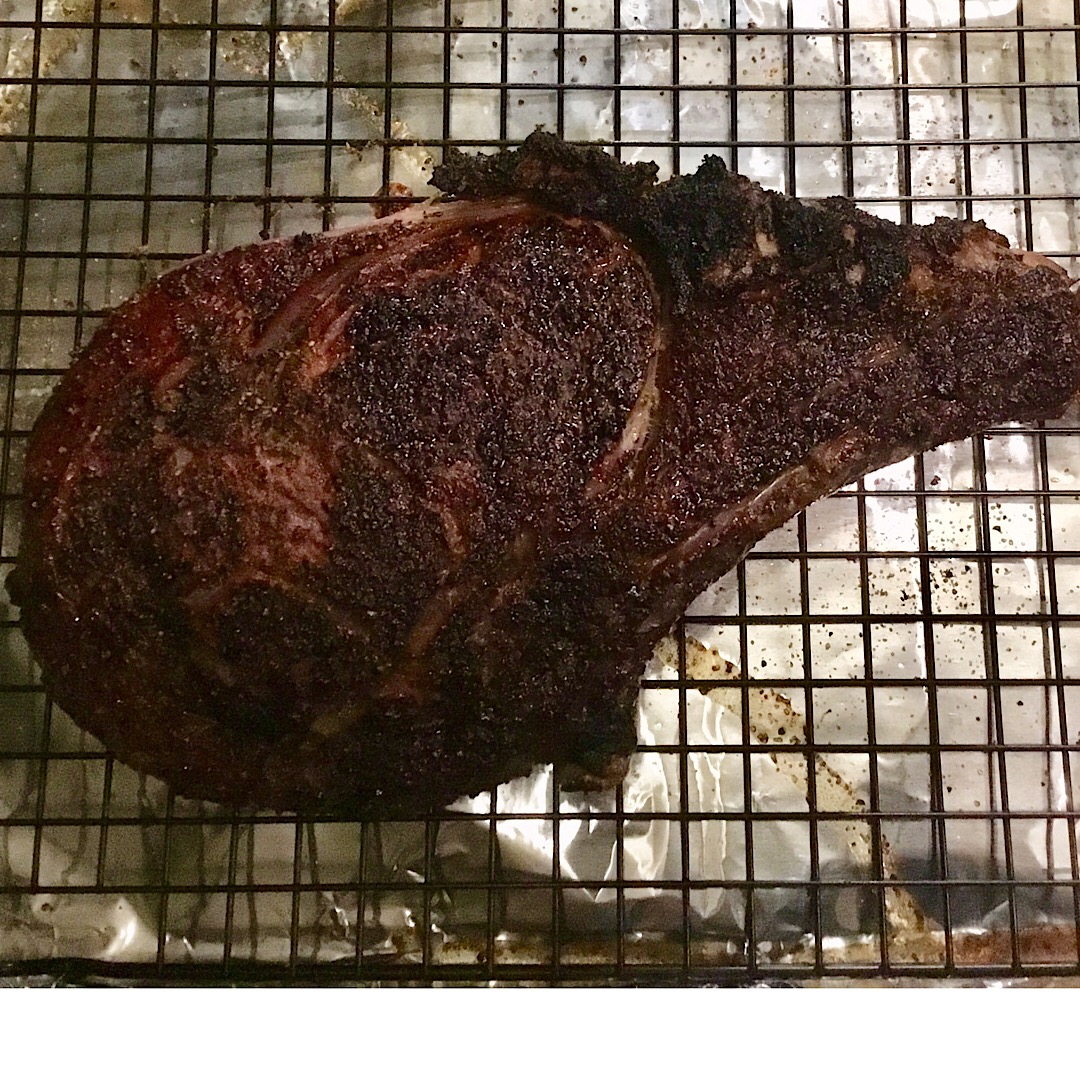
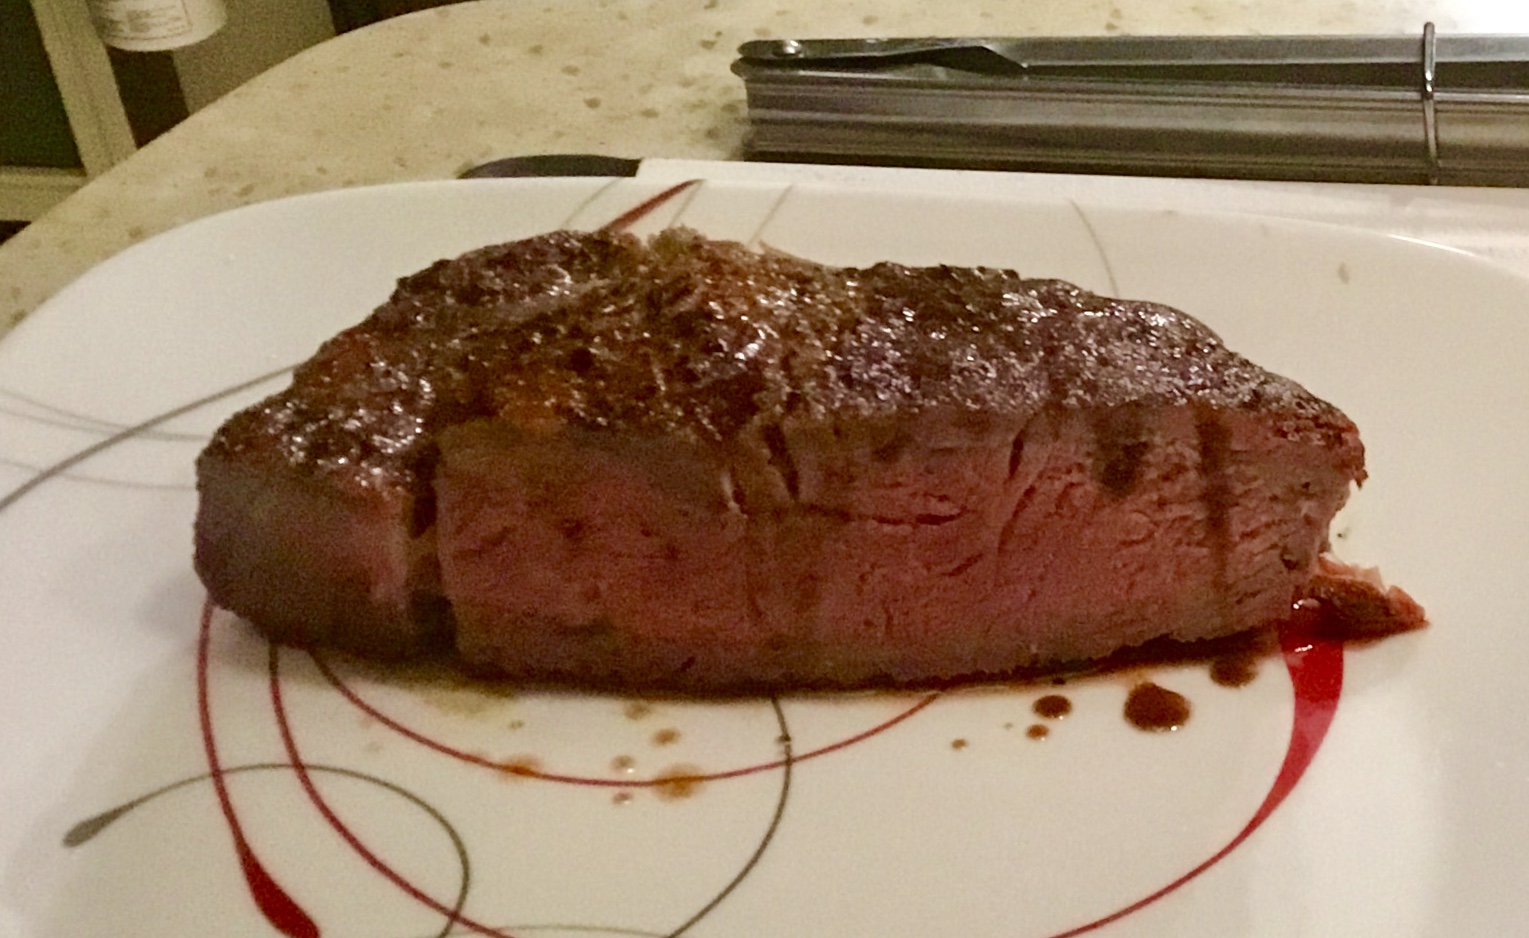
For medium rare pull from smoker @ 128 degrees. Sear in Smoking hot cast iron pan for 2 minutes a side. Foil and let rest 10 minutes before carving.
Directions: 4 hours before cooking your tomahawk Ribeye, remove from the refrigerator and salt all 4 sides with kosher salt. (This is dry brining and creates a moist and more tender piece of meat). Place on a rack and put back in the refrigerator. After a minimum of four hours remove and add coarse ground black pepper. Place in a 200 degree smoker until internal temp reaches 128 degrees. Sear in Smoking hot cast iron skillet 2 minutes a side. Tent with foil 10 minutes before carving.
Texas Twinkies
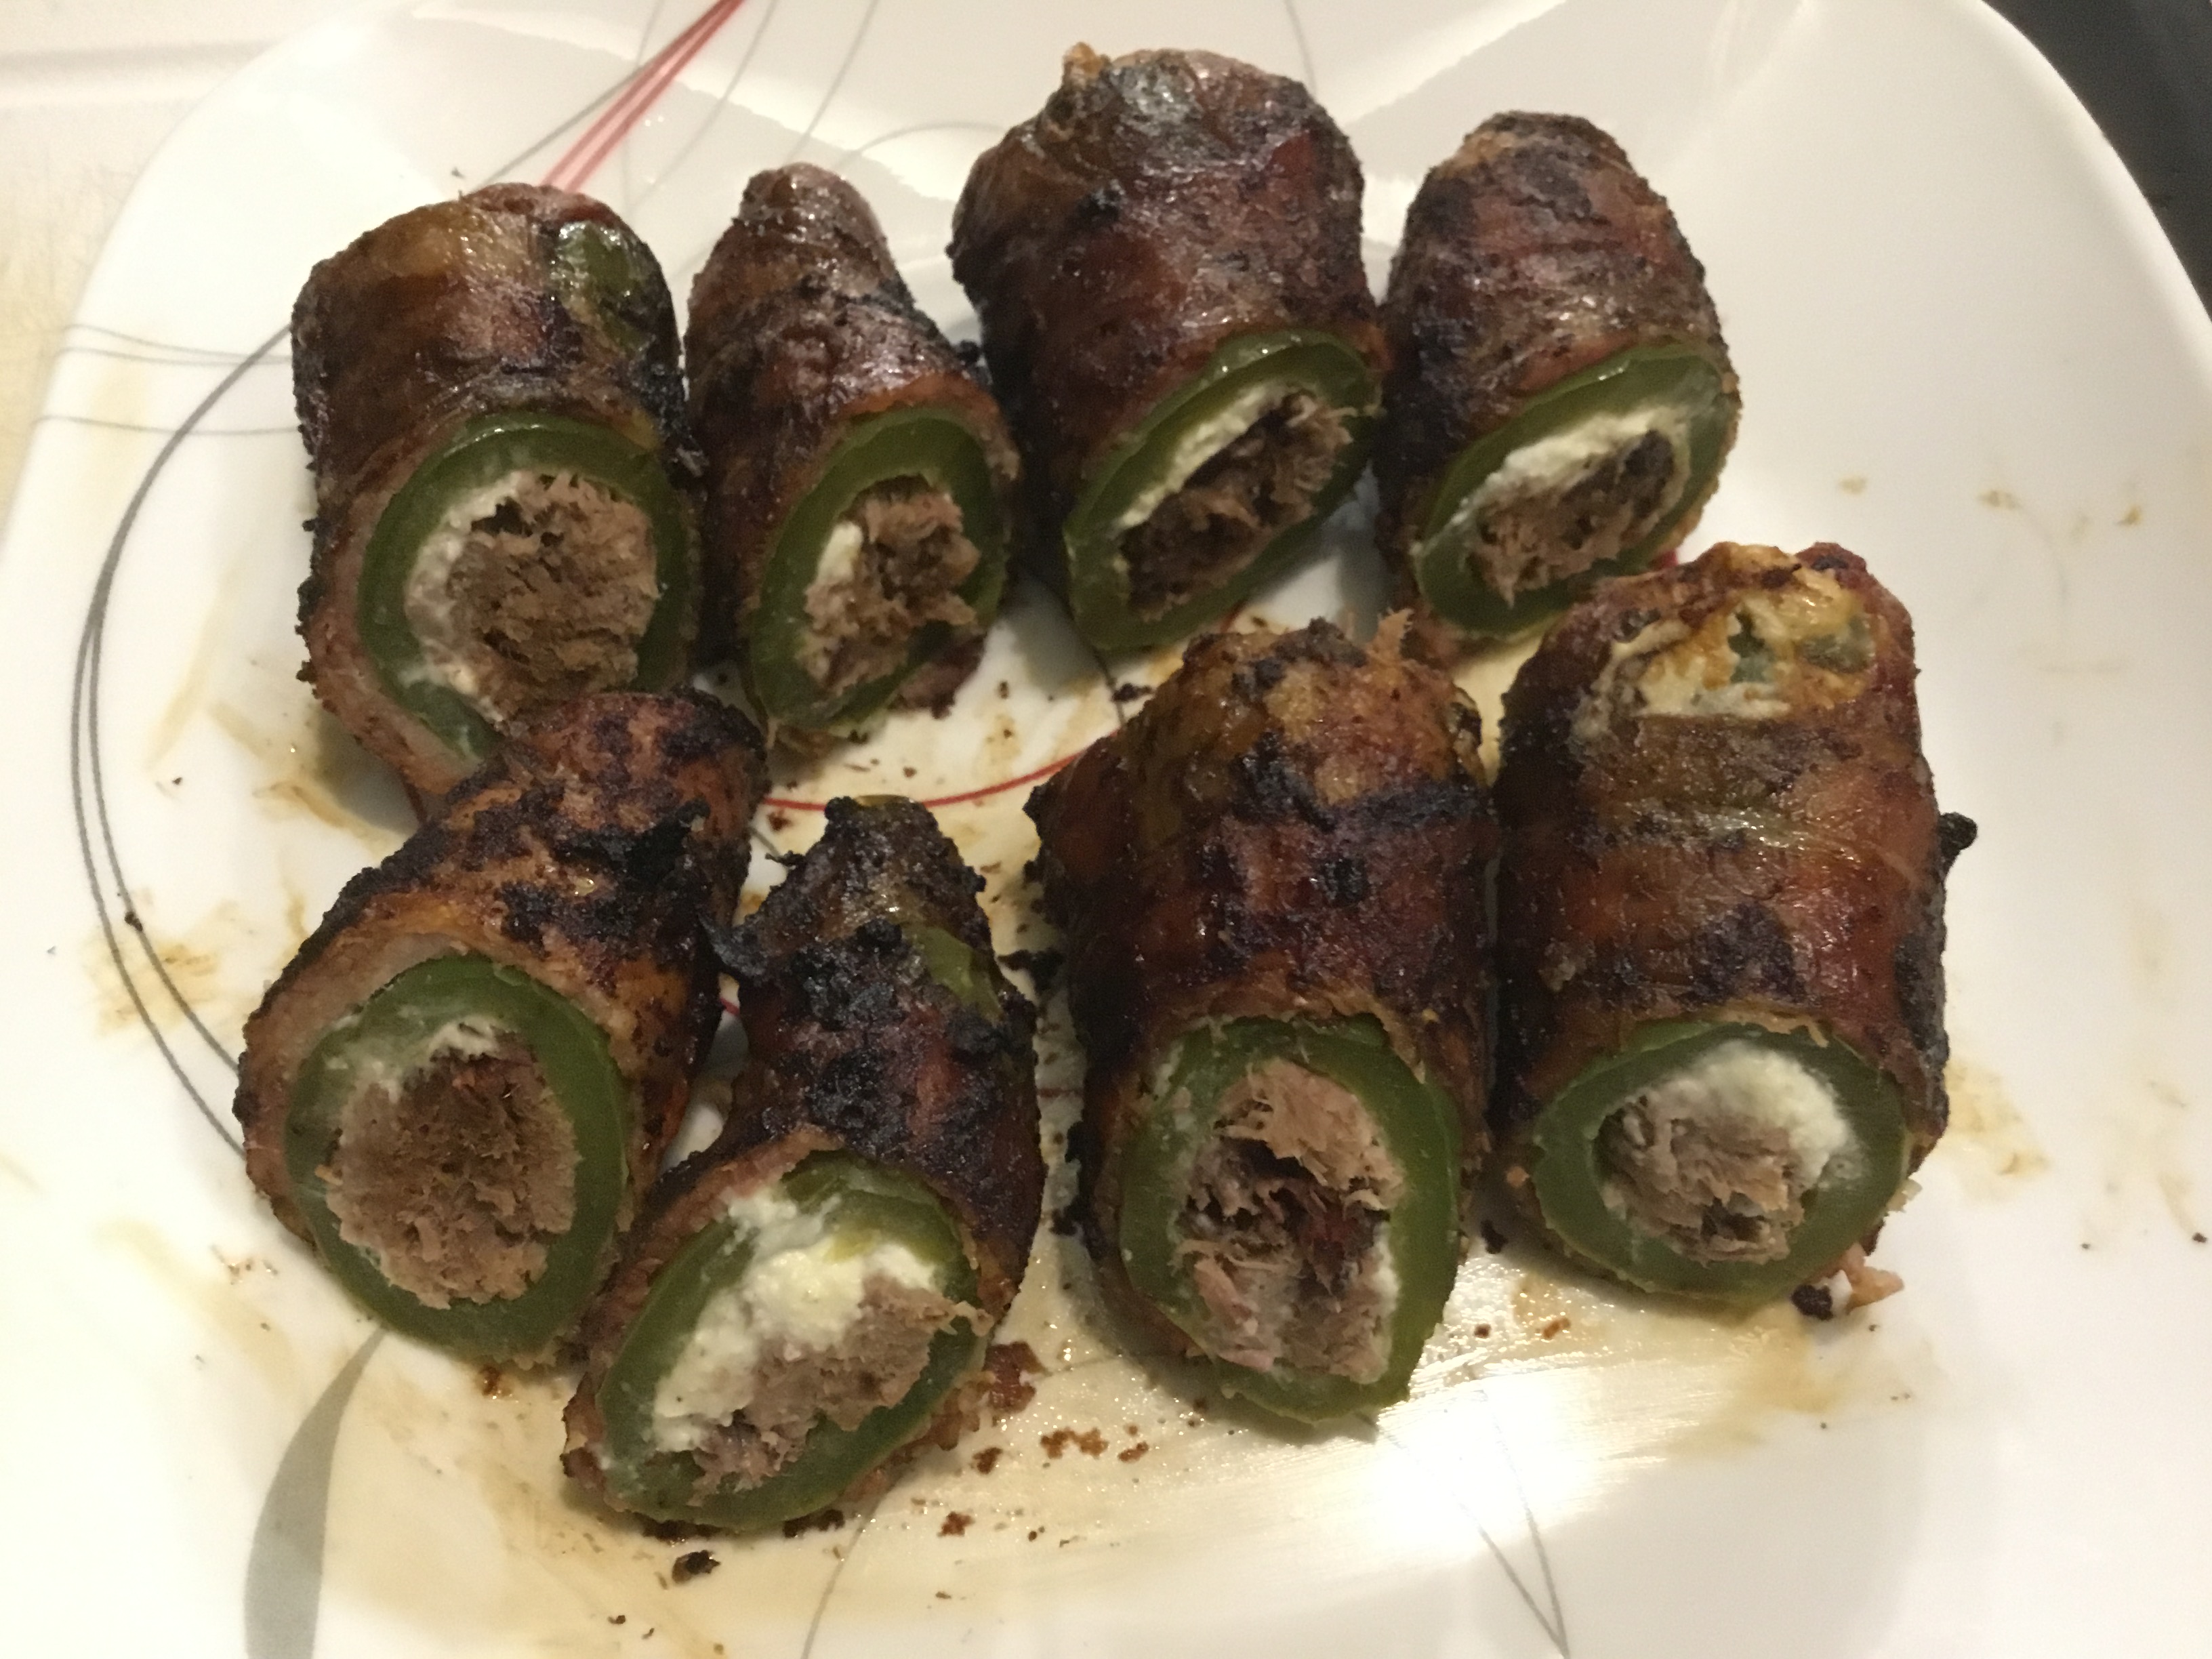 There’s a BBQ joint in McKinney TX called Hutchin’s that originated the “Texas Twinkie”. As far as I know it’s the only place that serves them up but just two or three days a week. They are jumbo jalapeño peppers stuffed with cream cheese & smoked brisket, wrapped in bacon, smoked & slathered with a sweet sauce at the finish. So good & easy to prepare.
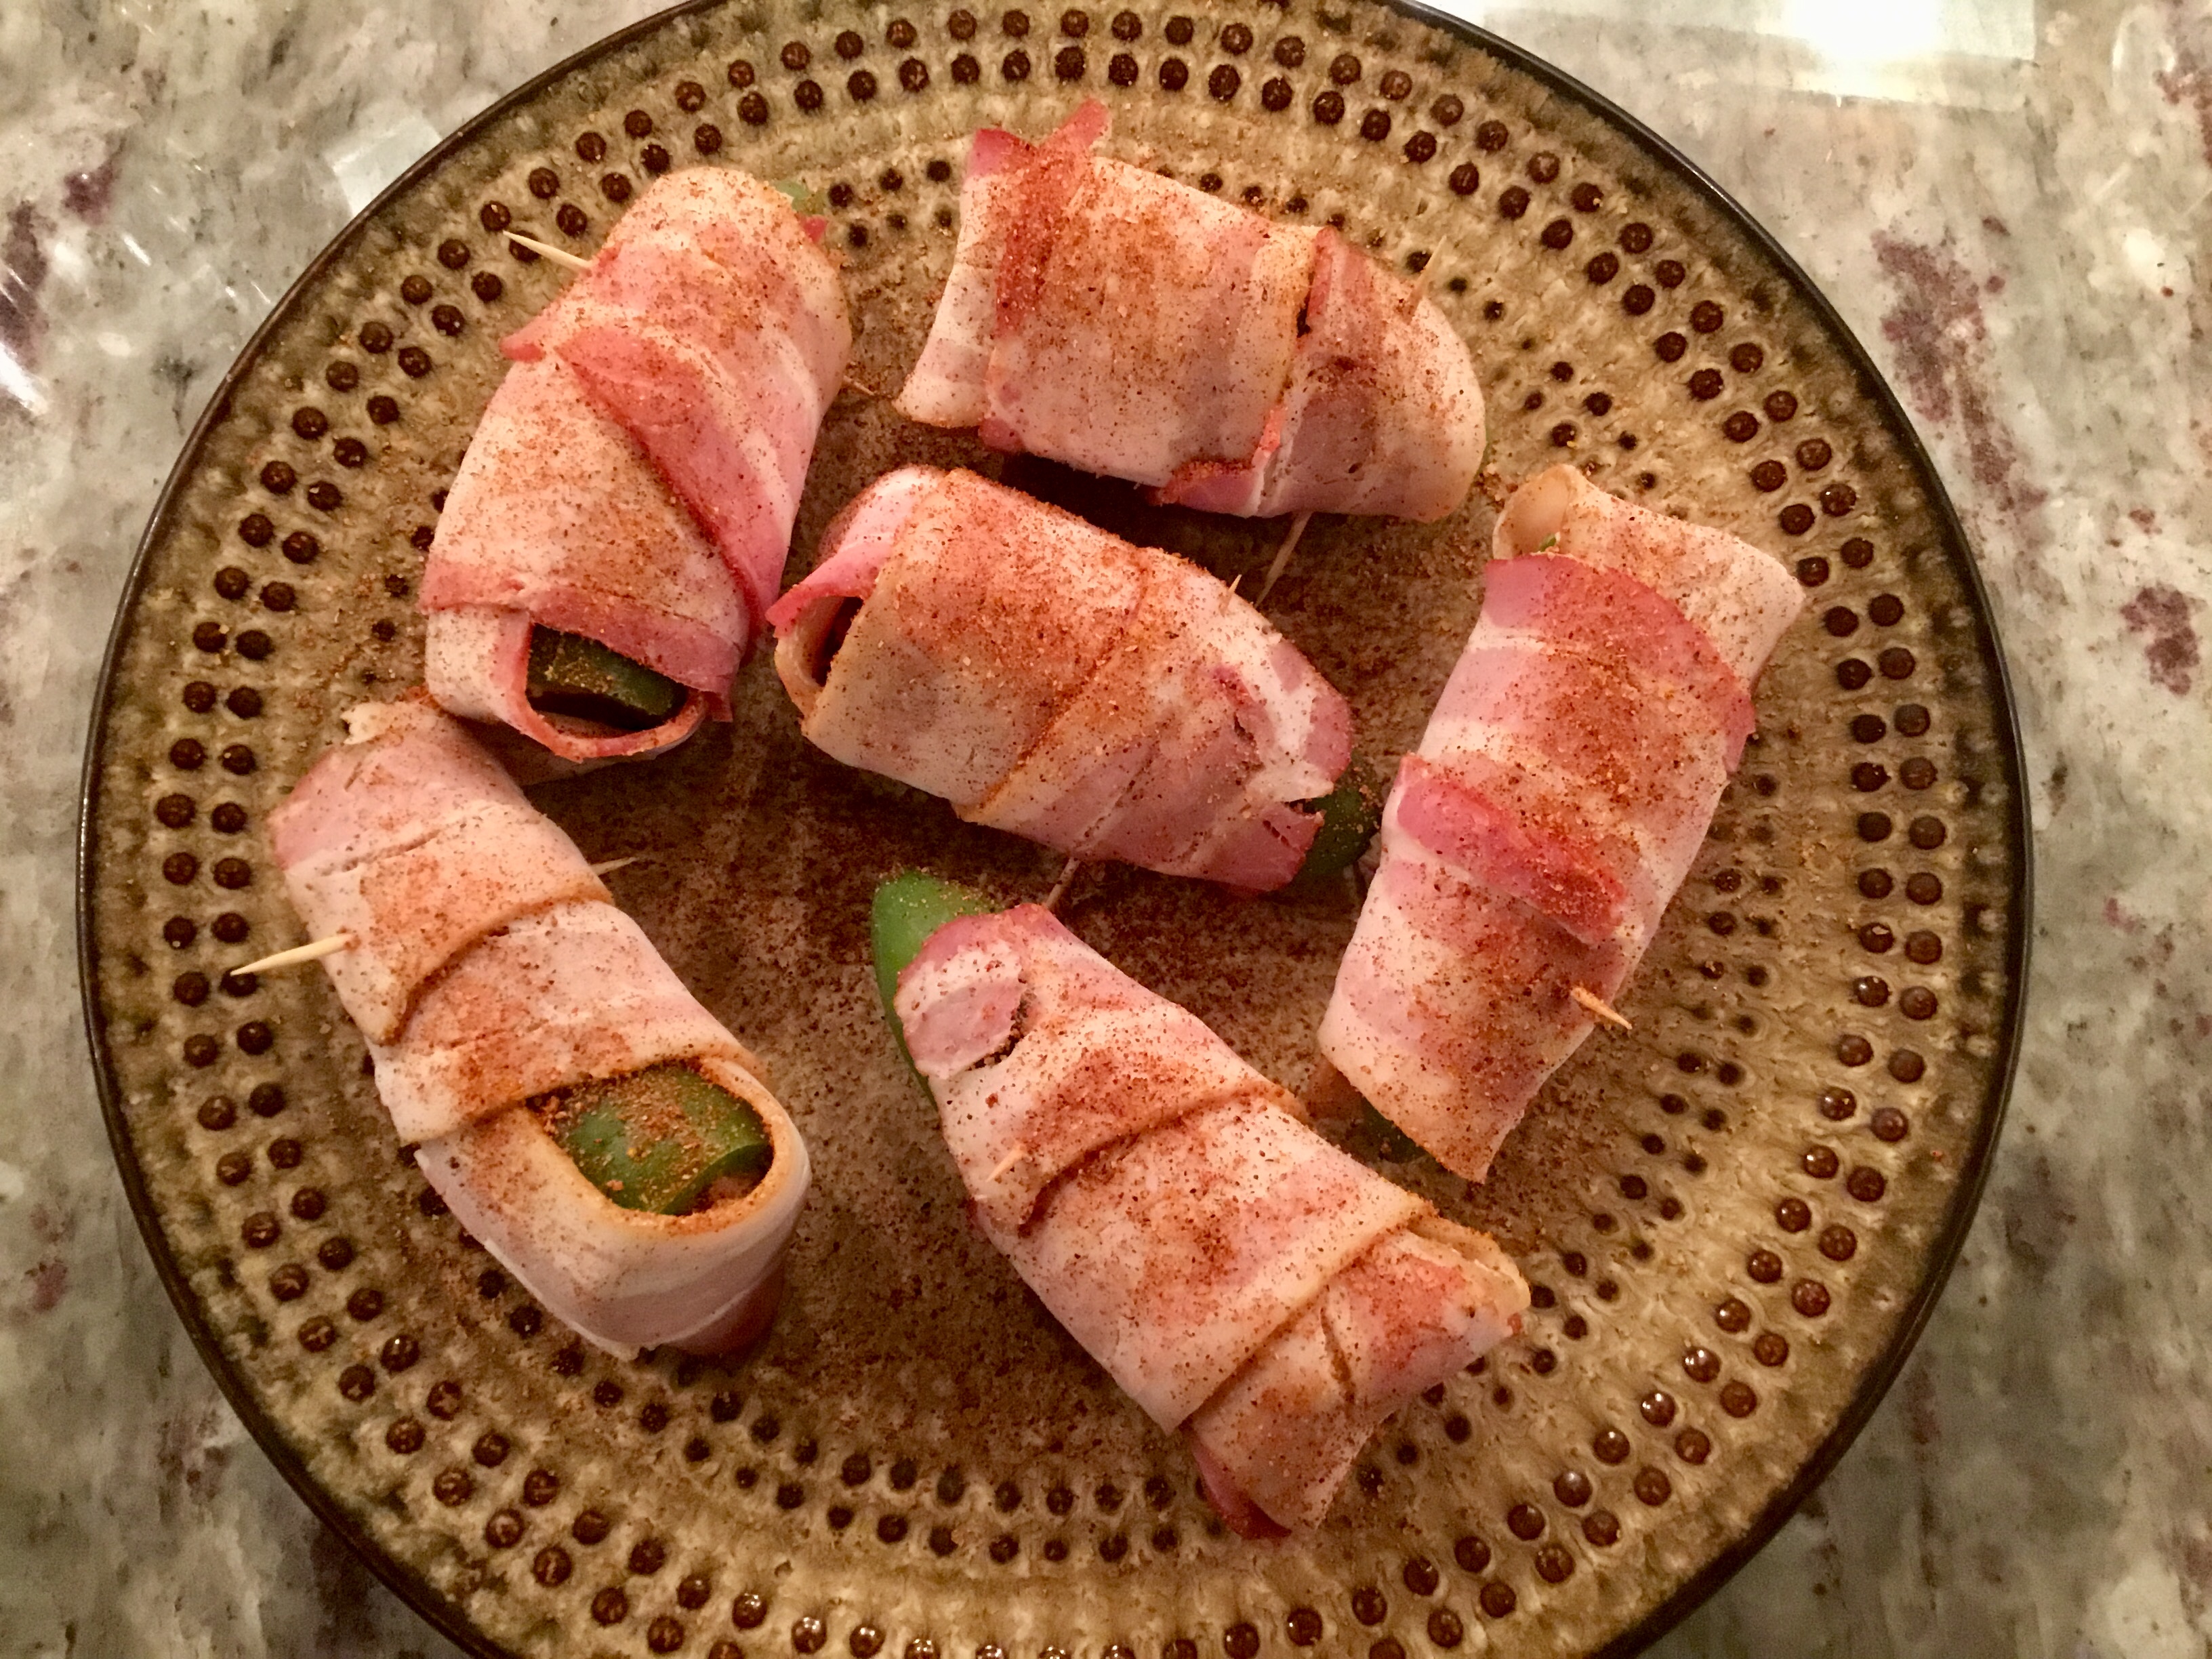
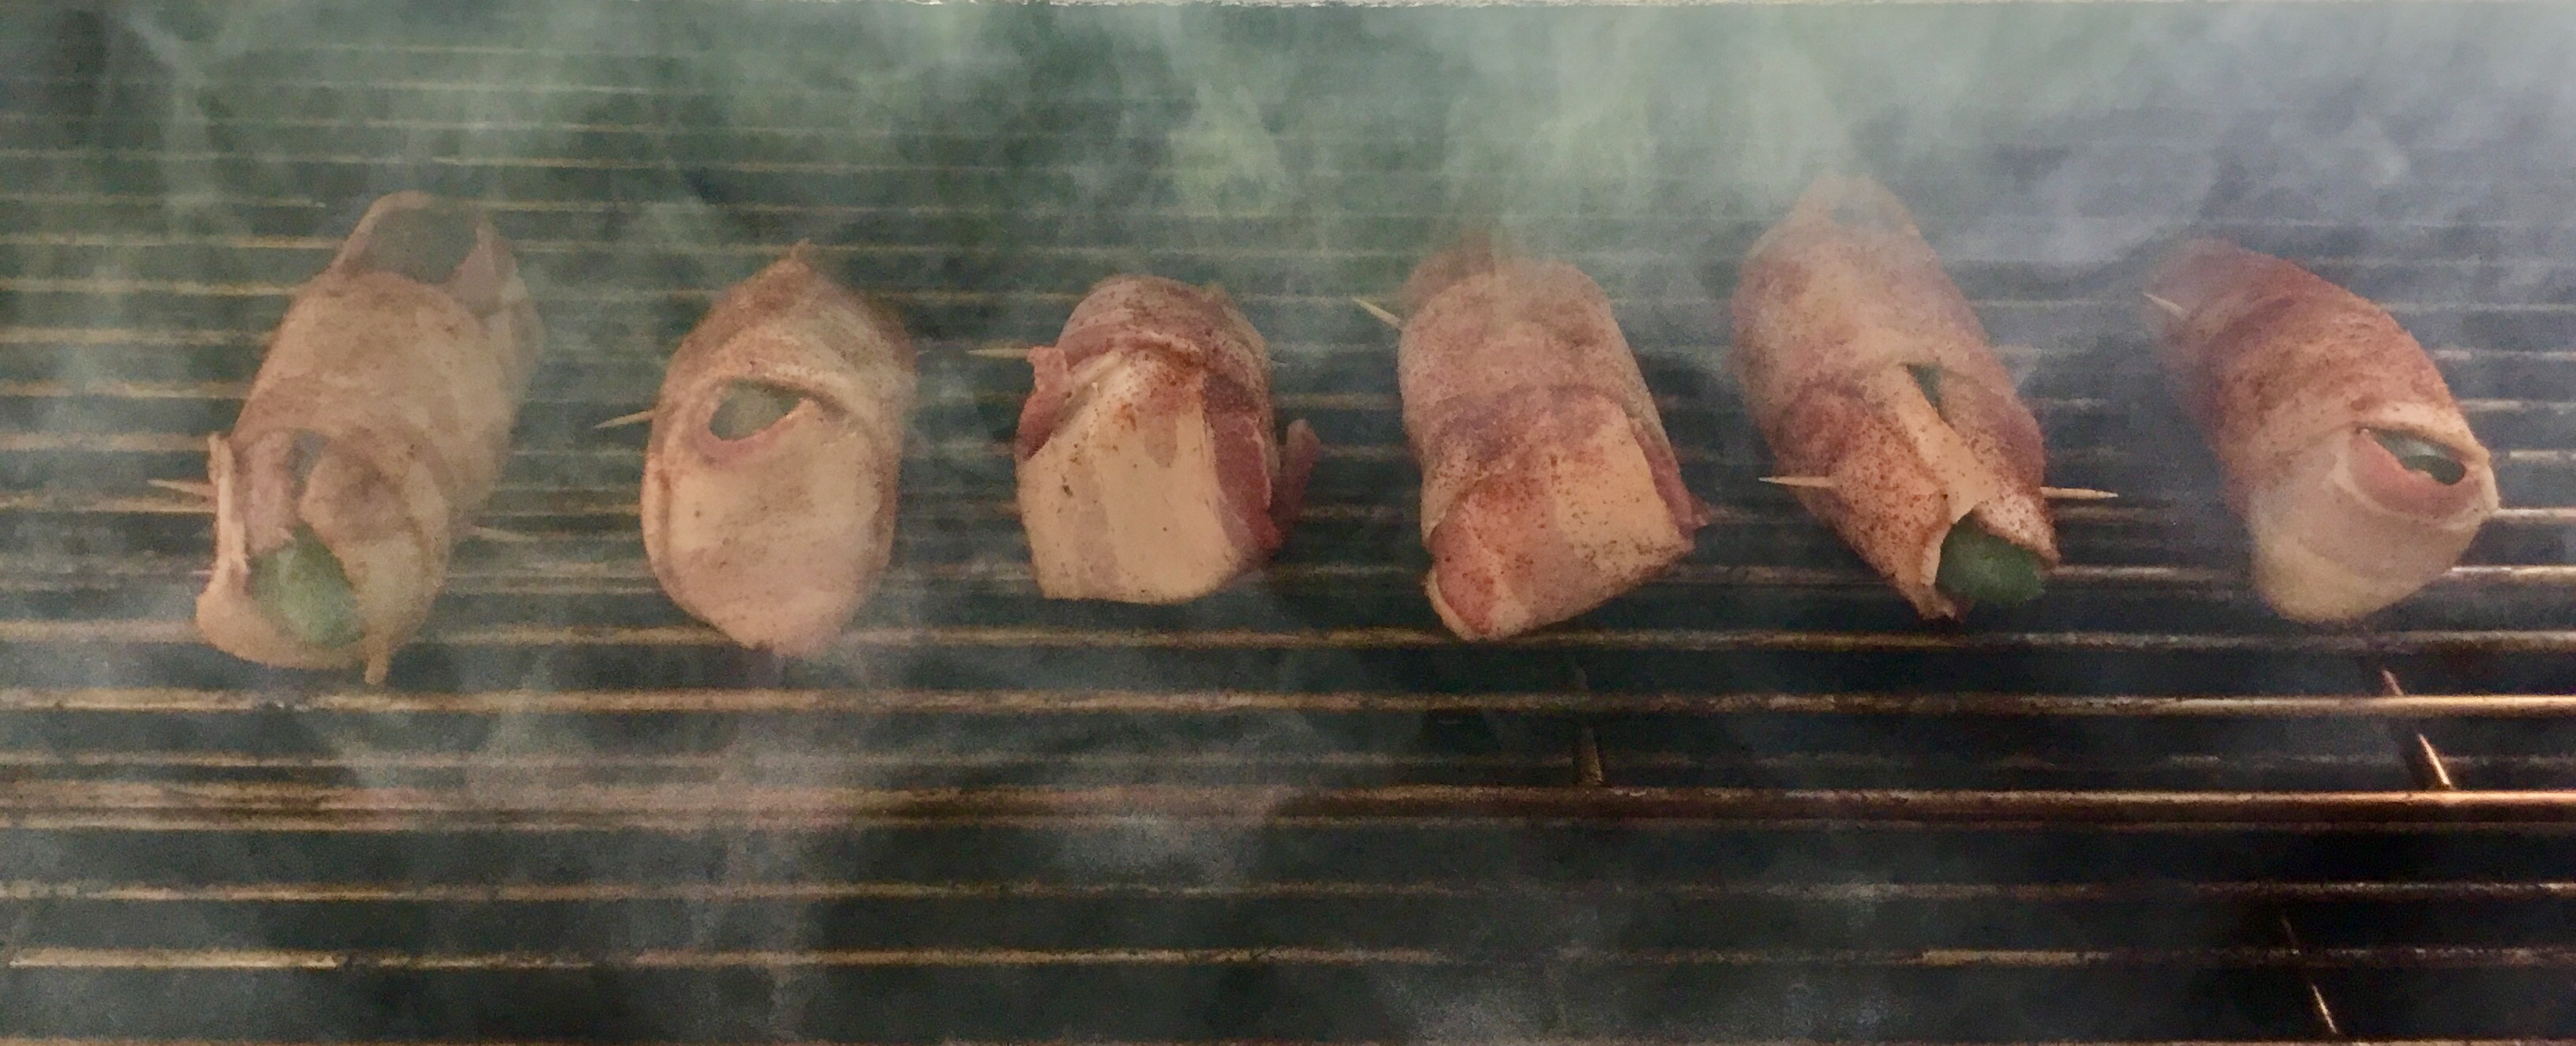
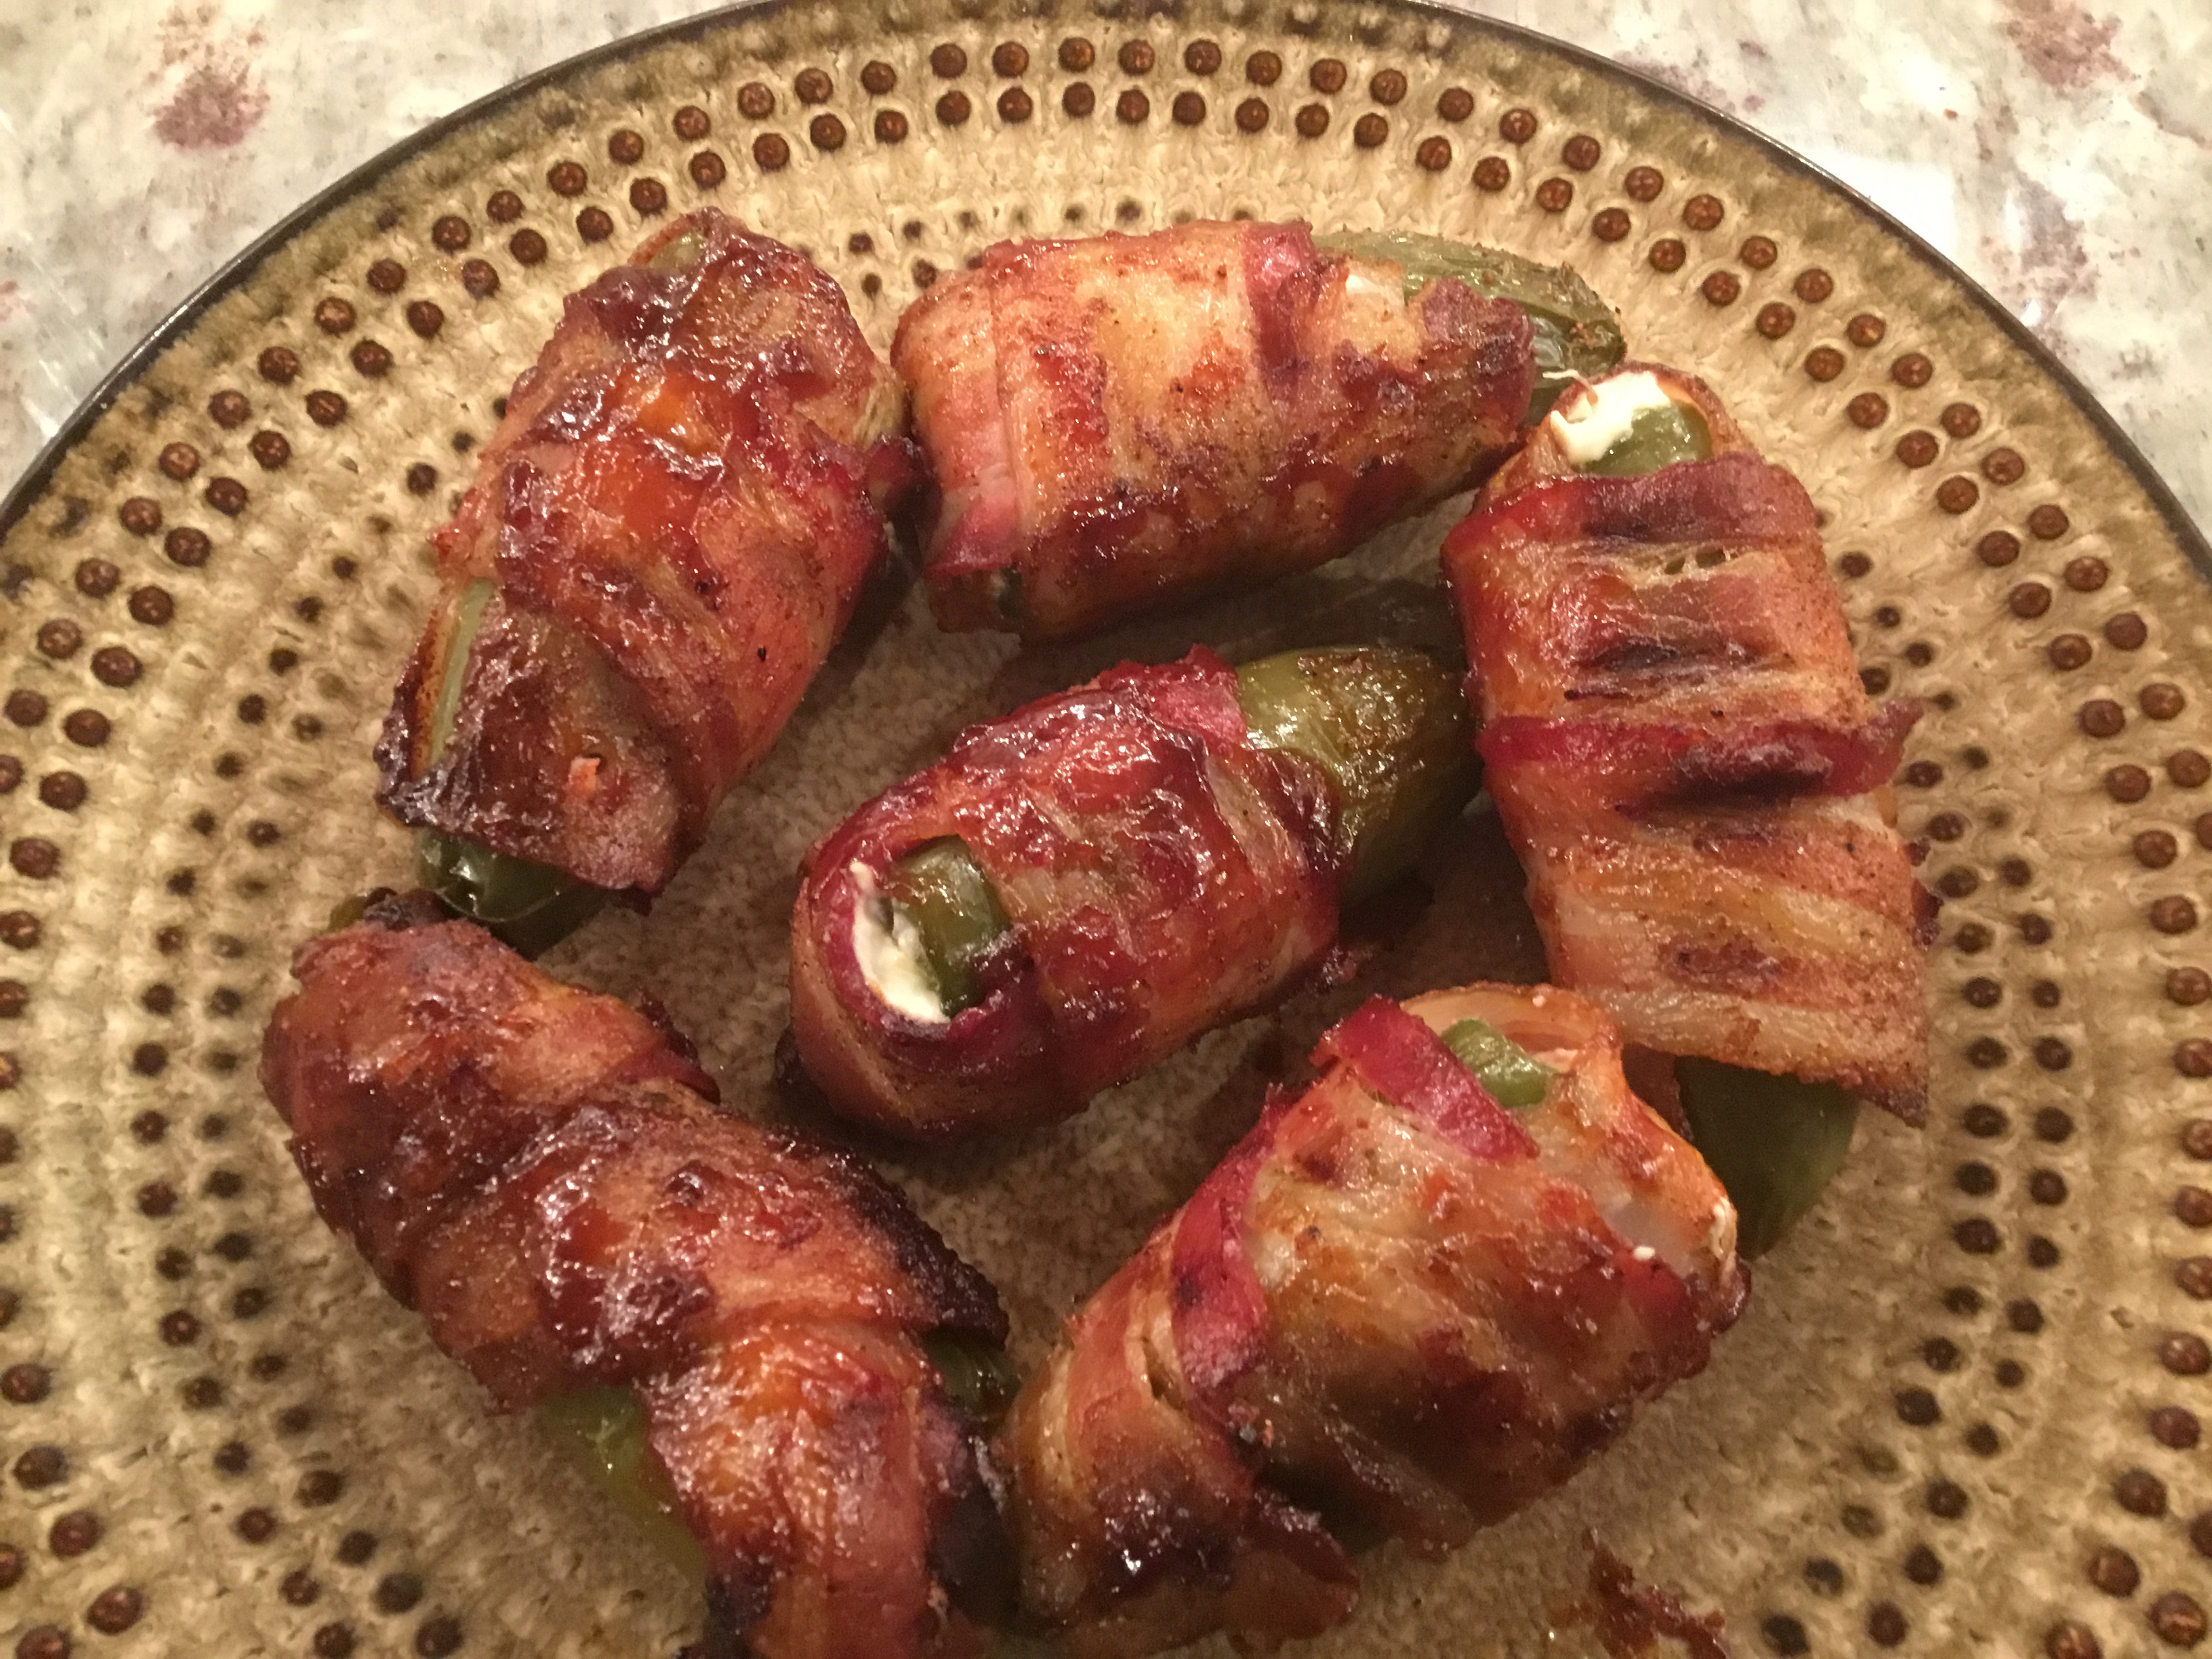
The first thing is to find the largest jalapeños. Cut off the stem end. Using a pairing knife hollow out the peppers removing veins and seeds. Fill 1/3 pepper with softened cream cheese. Stuff shredded brisket using your finger to pack the the pepper full. Take a 1/2 slice of bacon and cover the cut end. Then wrap the pepper with a full slice of bacon. Dust with your favorite rub. Place in a smoker @ 250 degrees for 30 minutes. Brush with sweet sauce five minutes before they’re done.
Ingredients:
6 jumbo jalapeños. 4 oz cream cheese. 6 oz brisket. 9 slices thin bacon. Rub. Sweet sauce.
Follow instructions above.
Sweet sauce: 1 cup brown sugar. 1/2 cup ketchup. 1/4 cup cider vinegar. 1/4 cup yellow mustard. Mix all ingredients together. Heat in a pan to dissolve the sugar. Let sit one hour before using.
Home Cured Pastrami

One of my favorite sandwiches is a true Jewish New York pastrami. Unfortunately where I’m from you just can’t find anything that is even close. So I make my own. The cut of meat most Jewish delis use is the beef navel. It has a lot of fat layers just like bacon that make it so perfect for pastrami. It is a difficult cut to find for the average person. A reasonable substitute is the flat portion of the beef brisket. It has a nice fat cap but not a lot of fat layered. Some people choose to use the point portion of the brisket. It has a lot of fat but is marbled fat versus layered fat. I prefer the flat cut but it’s up to your own personal preference. This recipe works with either. A common error some home curers make is to buy a store bought corned beef that is ready to cook. They press the pastrami seasonings onto the corned beef and smoke it. They eliminate the 5 days minimum curing time needed to cure the brisket. The problem with that approach is that your pastrami is going to taste like corned beef, not pastrami. A dominant flavor in corned beef is pickling spice. You can’t get rid of that flavor by soaking and smoking. So if you are going to make pastrami, don’t take shortcuts.

You can buy a flat cut brisket at most supermarkets. It should be about 8 lbs. Trim the fat cap down to about 1/4 inch. The fat is important but to much requires that you trim the fat cap after you smoke it and there goes a lot of flavor. Prepare your curing brine. Inject the brisket with curing brine in 6-8 places to cut down on the curing time. Place in a food grade plastic bag and pour in the rest of the brine. Seal bag removing all the air and seal. Place in the fridge and let cure 5 days turning over once a day. Remove brisket from brine and rinse. In a small cooler add cold water and allow brisket to soak 4 hours changing the water every hour. This removes excess salt and if you skip this step you will have pastrami that is so salty you will have a hard time eating it.
 .
.
Remove brisket from soaking water and pat dry with paper towels. It’s time to apply your curing spices. Use it all. Press it on all sides firmly. Place back in a food grade plastic bag and remove as much air as possible. Place a cutting board on top of the plastic bag with a cast iron or other heavy object on top. Place bag in the fridge and allow to cure at least 48 hours. I let it cure 4 days because I like the spices to infuse as much flavor as possible, and since the brisket has been preserved with instacure #1 you don’t have to worry about spoilage. Place brisket in the smoker on an oiled rack and smoke @ 250 degrees for 6 hours. After 6 hours transfer brisket to a baking sheet with a rack and pour about 1/2 inch of hot water in the baking sheet. Cover brisket and baking sheet with heavy duty foil and place back in smoker or in an oven heated to 250 degrees for an additional 3 hours. Remove from heat source and allow to rest for at least 30 minutes, covered. It takes some serious time to prepare this pastrami so I would suggest that if you have the refrigerator space, do two briskets. Once done, you can cut each brisket into several pieces (don’t cut in slices) vacuum pack and freeze for up to 90 days. You’re going to think you went to pastrami heaven, I guarantee!
Recipe (double if doing two):
For the brine:
1 gallon ice cold water
8 ozs kosher salt by weight
3 tsp. instacure #1
I cup firmly packed brown sugar
12 cloves fresh garlic, minced
For the rub:
3 tablespoons coriander seeds
3 tablespoons cracked black peppercorns
2 teaspoons yellow mustard seed
1 tsp. red pepper flakes
1 Tbs. garlic granules
1 Tbs. onion granules
Place coriander seeds, yellow mustard seeds in a spice grinder and pulse just until seeds are crushed. Mix in the rest of the spices.
Follow recipe instructions above.
Summer Salami with Bacon
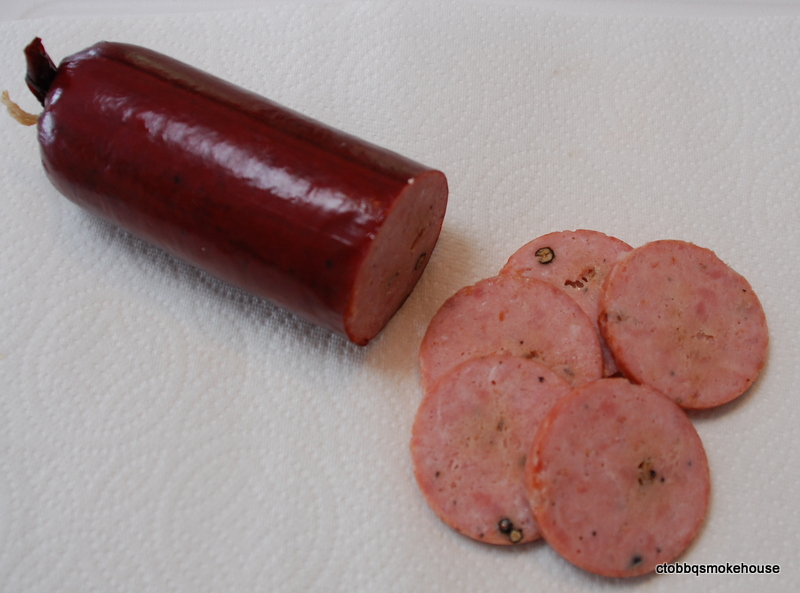
Summer Salami is a popular salami also known as Thuringer. It is a semi-dry cured salami that is smoked after it is allowed to cure to develop a natural tang. It is very popular with hunters who use venison & elk meat and this recipe works very well substituting wild game meat for the pork. I would however make sure that all fat is trimmed from the meat and add the bacon in this recipe or you can use pork back fat.
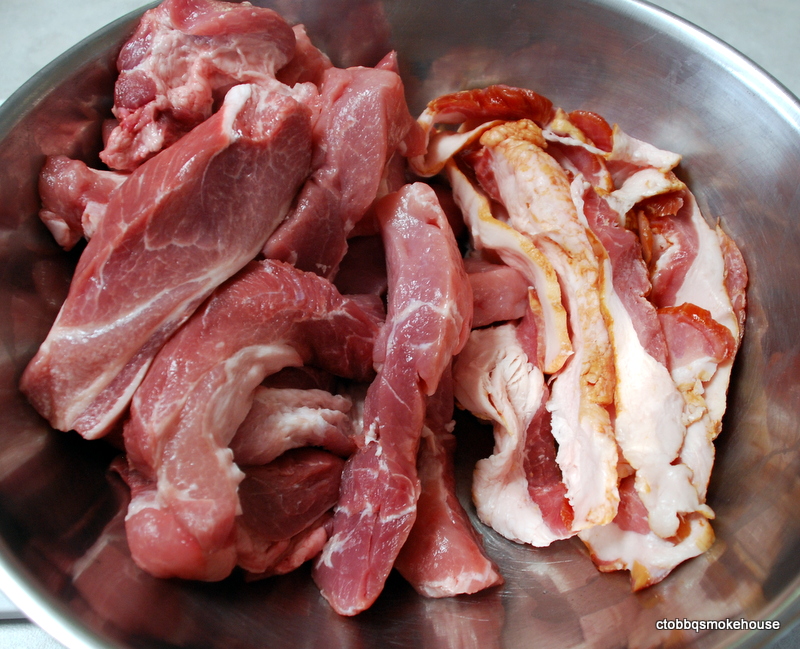
I use pork and pork back fat in my traditional recipe. Today I am using bacon ends instead of the pork fat to give it a little change of flavor.
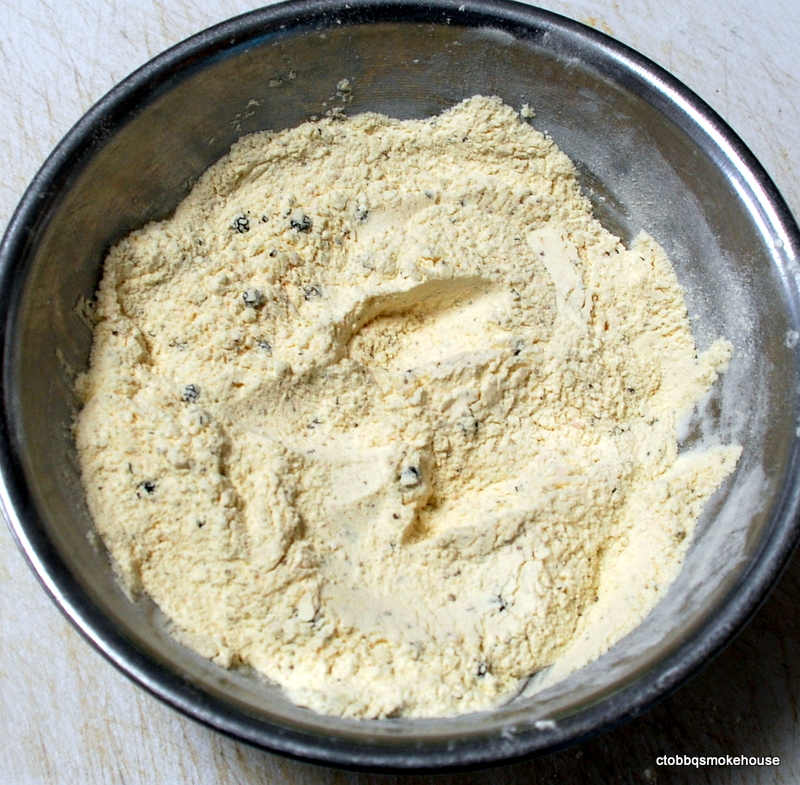
Mix all the dry ingredients together.
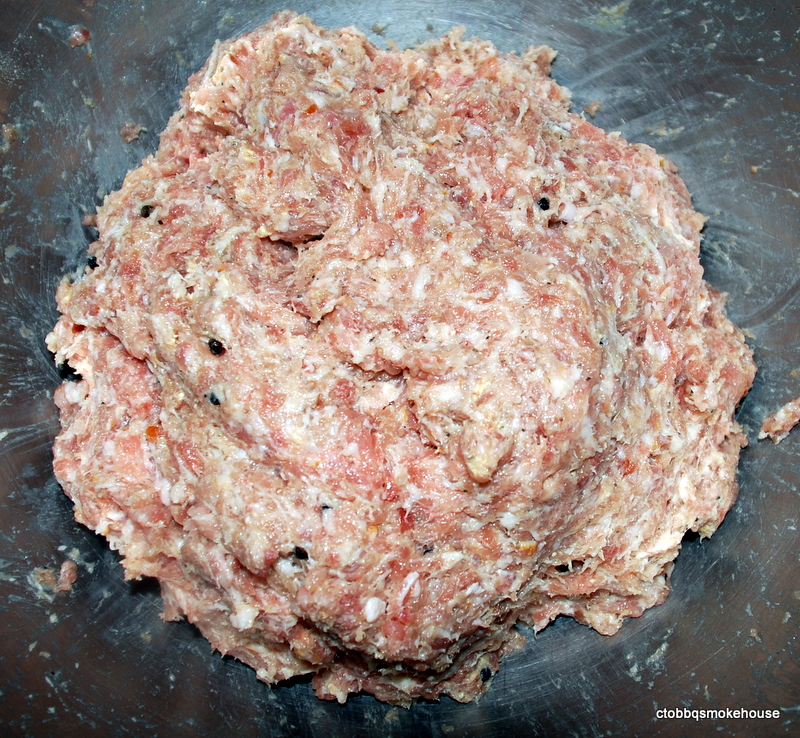
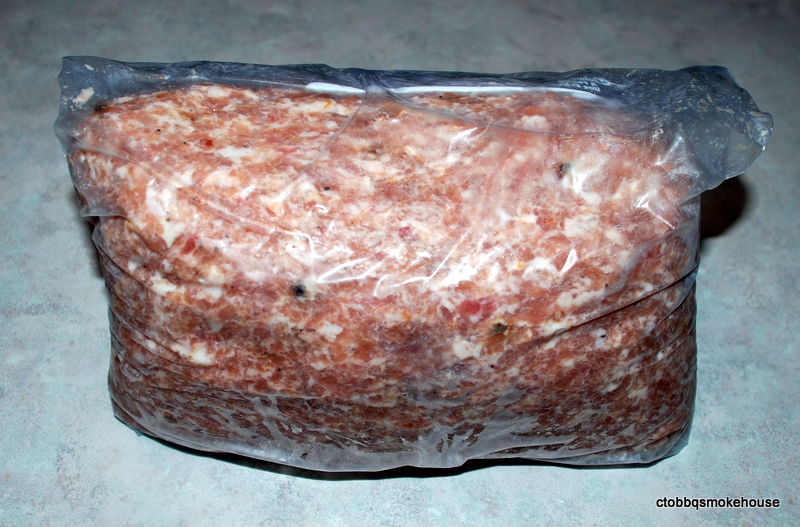
Grind the partially frozen meat and fat using a 3/8 grinding plate. Mix in dry ingredients and mix thoroughly. Place in a ziplock bag and pack tightly removing all air and sealing. Put in the refrigerator and let cure for 4 days.
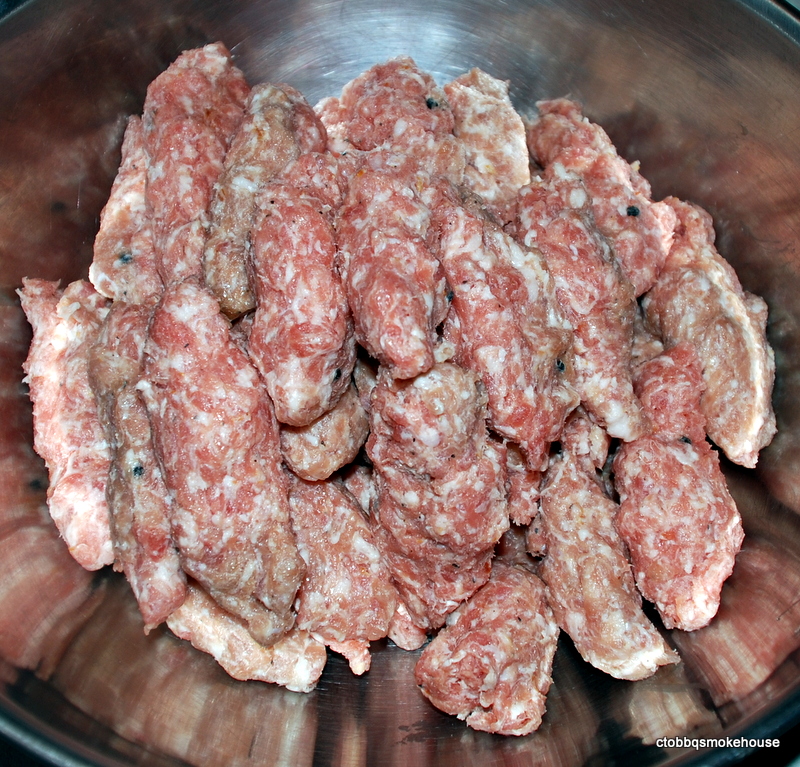
To make it easier to regrind the meat, I form little pieces that easily feed down the grinding tube. Grind and stuff the casings using a large grinding plate as the whole peppercorns need to pass through.
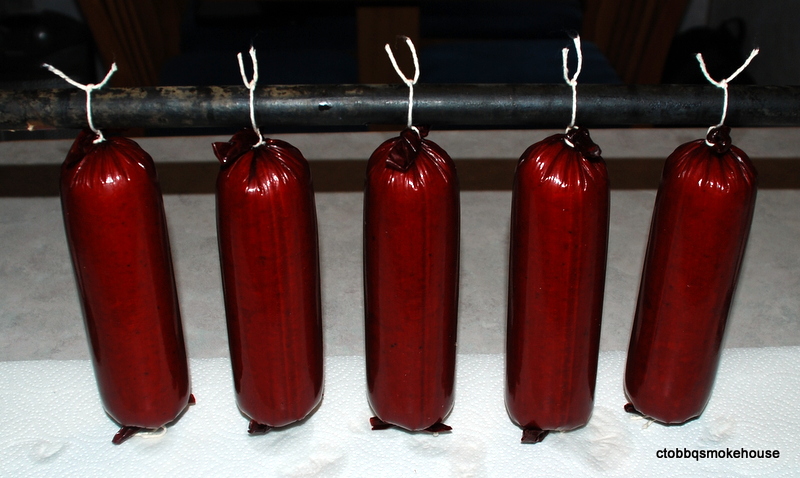
Hang salami on a smoke rack and let cure @ room temperature for 12 hours.
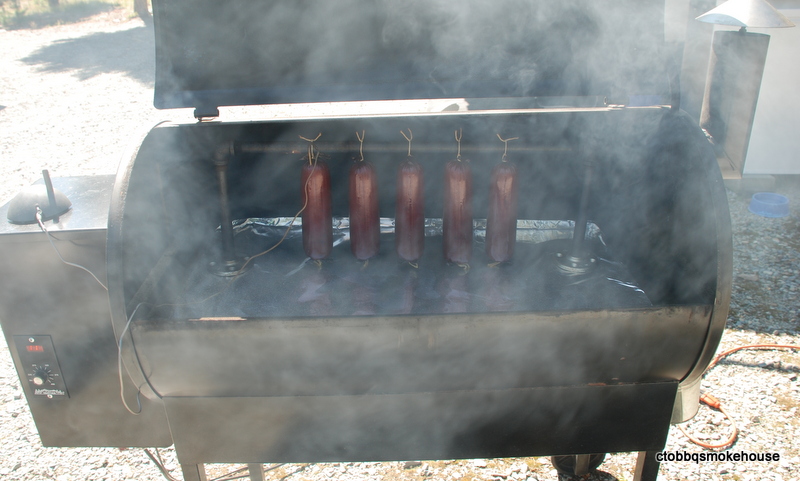
Insert a temperature probe into one of the salamis and place in smoker @ 110 degrees. When the internal temp reaches that, raise smoker temp to 125 degrees. When that temp is reached, raise smoker temp to 155. The salami is done when 155 degrees is reached. Remove salami still on the smoke rack and shower with cold water until the internal temp reaches 110 degrees. Gently wipe the salami with paper towels.
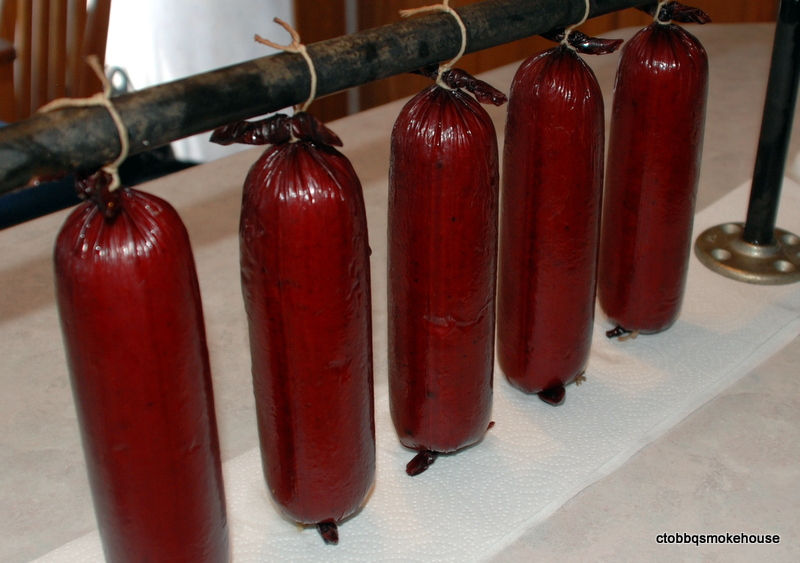
Let hang on smoke rack @ room temp for three hours to allow the salami to bloom. Store refrigerated. I like to vacuum pack what I’m not going to eat right away and place in the freezer. They won’t lose any flavor for up to 90 days.
Recipe:
4 lbs. pork shoulder
1 lb. bacon or fatty bacon ends
1 tsp. Instacure #1
2 Tbs. powdered dextrose
2 tsp. coarse ground pepper
1/2 tsp. ground ginger
2 tsp. black peppercorns
3 ozs. Fermento
Directions:
Cube pork, bacon & partially freeze. Grind with 3/8 grinding plate. Add the rest of the ingredients and mix thoroughly. Place in ziplock bag and let cure refrigerated 4 days. Regrind using a large grinding plate and stuff into casings. Hang at room temp for 12 hours. Smoke @ 110 degrees several hours then raise the temp to 125 degrees for about and hour. Raise temp to 155 degrees and salami is done when the internal temp is 155 degrees. DO NOT ALLOW THE SMOKER TO GET ABOCE 160 DEGREES OR THE FAT WILL START TO SEPERATE. Remove from smoker immediately and shower with cold water until the internal temp reaches 110 degrees. Hang @ room temp to allow salami to bloom.
